Follow Me On Social Media!
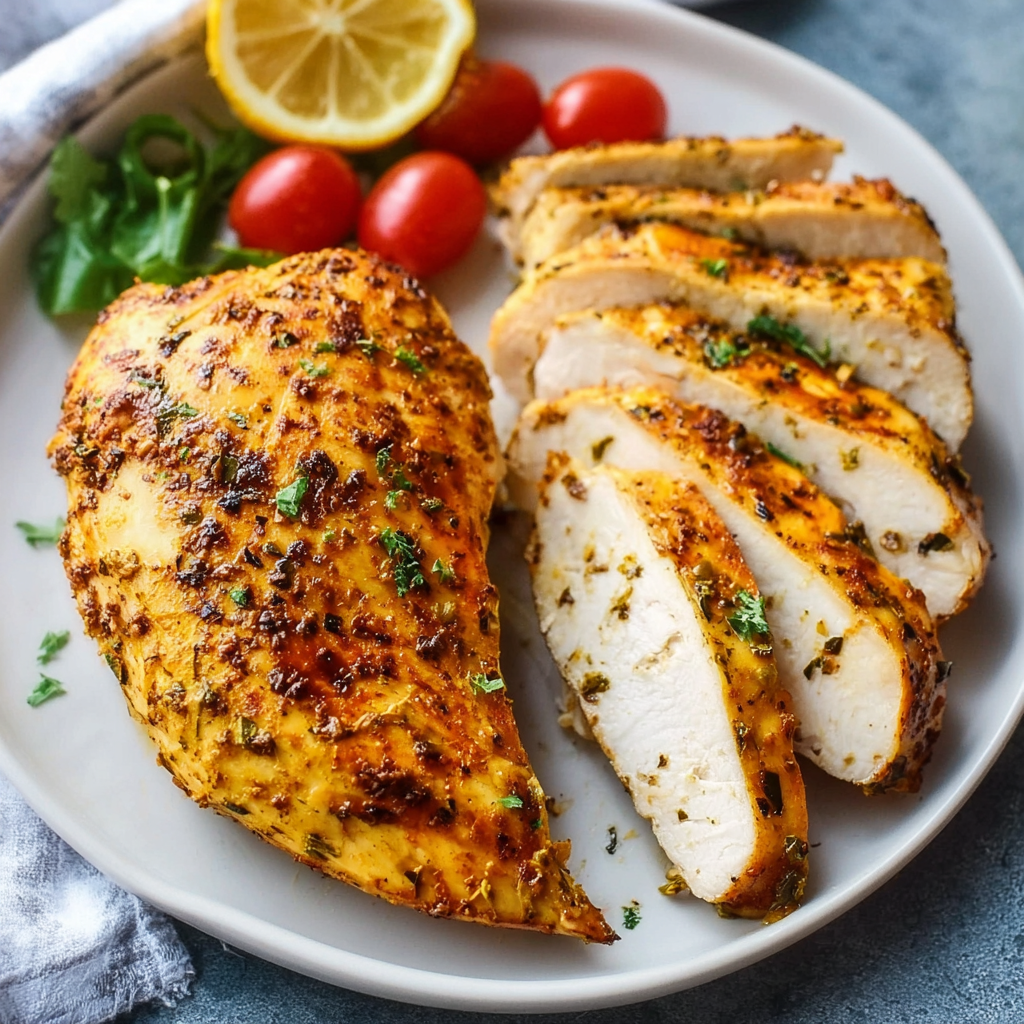
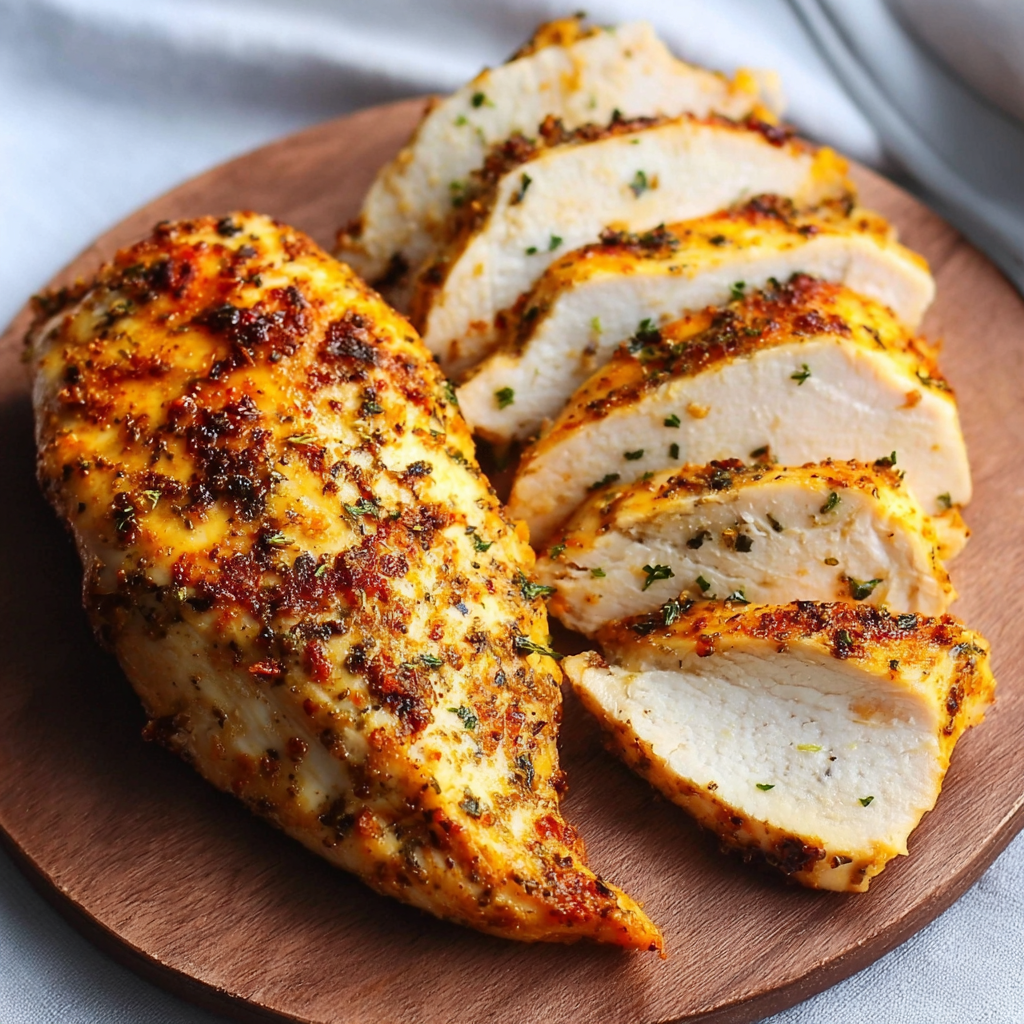
Air Fryer Chicken Breast: The Science of “Pressure-Convection” Succulence
Why Air Frying Outperforms the Oven
The biggest challenge with chicken breast is its lean protein structure—with almost zero intramuscular fat, it dries out the moment it hits $74$°C ($165$°F). In a standard oven, the air is relatively stagnant, leading to slow heat transfer.
An Air Fryer utilizes a high-powered fan to create a “convection vortex.” According to culinary data, this high-velocity air creates a Pseudo-Pressure Environment, forcing heat into the meat faster than it can evaporate internal moisture. This results in a $30\%$ faster cook time and a significantly higher “moisture retention” rate compared to traditional baking.
Ingredients List: The Brine-and-Blast Matrix
To achieve “juice-dripping” results, we focus on surface tension and seasoning.
- 2 Large Chicken Breasts: (6–8 oz each). The Logic: Aim for even thickness. If one side is significantly thicker, use a meat mallet to pound it to a uniform $1$-inch height.
- 1 tbsp Olive Oil: Acts as the thermal conductor and “seals” the surface.
- 1 tsp Smoked Paprika & 1 tsp Garlic Powder: For flavor and color.
- 1/2 tsp Salt & 1/4 tsp Black Pepper.
- 1/2 tsp Dried Oregano.
Timing: Data-Driven Efficiency
| Phase | Duration | Data Insight |
| The Prep | 2 Minutes | Pounding to uniform thickness ensures $100\%$ even cooking. |
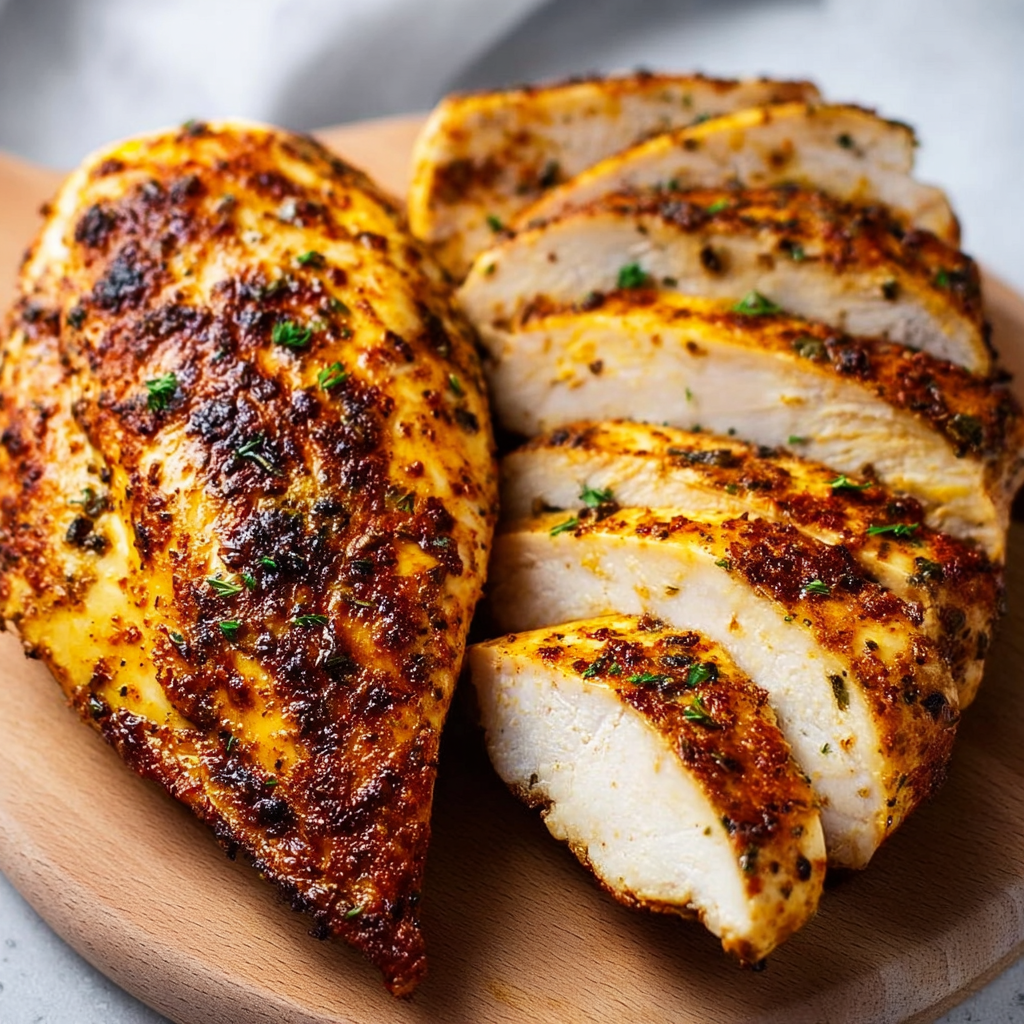
| The Air Fry ($190$°C) | 10–12 Minutes | High heat triggers the Maillard Reaction for a “roasted” flavor. |
| The Rest | 5 Minutes | Allows the protein fibers to relax and reabsorb juices. |
| Total Time | Approx. 15 Minutes | The Gold Standard for meal prep. |
Step-by-Step Instructions
Step 1: The Surface Preparation
Pat the chicken breasts extremely dry with paper towels. The Science: Any surface moisture will turn into steam, which prevents the “crisp-set” of the spices and results in a “rubbery” texture.
Step 2: The Lipid-Spice Coating
Rub the olive oil over the chicken, then coat thoroughly with the spice blend. Actionable Tip: Don’t just sprinkle; press the spices into the meat. The Logic: The oil suspends the spices, ensuring that the high-velocity air doesn’t blow the seasoning off the meat during the cook.
Step 3: The High-Heat Blast
Preheat the air fryer to 375°F (190°C). Place the chicken in the basket. Critical Rule: Do not overlap. Air must be able to circulate under the meat to prevent a soggy bottom.
Step 4: The Halfway Flip
Air fry for 10–12 minutes, flipping the chicken at the 6-minute mark. Visual Cue: The chicken should be golden-brown and feel firm but slightly springy to the touch.
Step 5: The “Carry-Over” Finish
Remove the chicken when it hits 160°F (71°C) on a meat thermometer. The Physics: Through Carry-Over Cooking, the internal temperature will continue to rise $5$°F while resting, bringing it to the food-safe $165$°F without overcooking the delicate outer fibers.
Success Tips & Common Mistakes
- The “Rubbery” Fail: Usually caused by cooking too long at too low a temperature. You want high heat ($375$°F+) to cook it fast and lock in moisture.
- The “Dry” Fail: If you don’t use a thermometer, you are guessing. Even 2 minutes too long in an air fryer can turn chicken into “cardboard.”
- The Flavor Hack: For an even juicier breast, Dry Brine the chicken by salting it 30 minutes before cooking and leaving it uncovered in the fridge. This changes the protein structure to hold onto more water.
Nutritional Information (Per Serving)
- Calories: 240 kcal.
- Protein: 42g.
- Total Fat: 7g.
- Carbohydrates: 0g.
Conclusion
Air Fryer Chicken Breast is a masterclass in efficiency. By manipulating air velocity and utilizing carry-over cooking, you can turn a notoriously difficult protein into a juicy, flavor-dense meal in less time than it takes to preheat a traditional oven.