
Follow Me On Social Media!
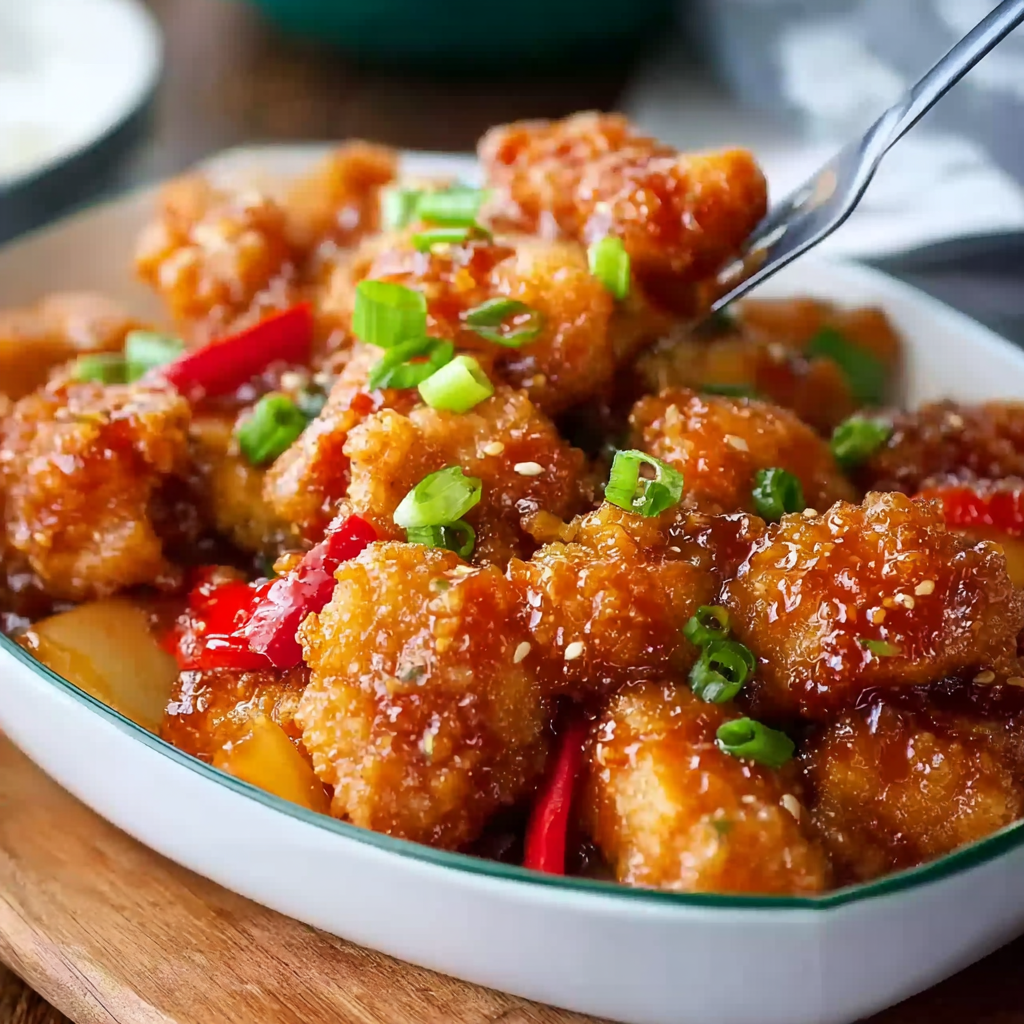
Baked Sweet and Sour Chicken – Crispy Oven Version

Introduction
Did you know that sweet and sour chicken is one of the most ordered Chinese-inspired dishes worldwide, with millions of searches every month for healthier homemade versions? Many people believe the only way to achieve that signature crispy texture is by deep frying. But what if you could make Baked Sweet and Sour Chicken – Crispy Oven Version that’s just as crunchy, flavorful, and satisfying — while using significantly less oil?
This oven-baked version delivers everything you love about the classic takeout favorite: golden crispy chicken, tangy sweet-and-sour sauce, and vibrant flavors. The difference is that baking instead of frying can reduce fat content by up to 30–40%, making this recipe a healthier alternative without sacrificing taste.
In this guide, you’ll learn how to make perfectly crispy baked chicken coated in a rich sweet and sour glaze, along with expert tips, healthier swaps, and storage methods to ensure restaurant-quality results at home.
Ingredients List
To make Baked Sweet and Sour Chicken – Crispy Oven Version, you’ll need a few pantry staples and fresh ingredients that work together to create a balanced sweet, tangy, and savory flavor.
For the Crispy Chicken
- 2 large chicken breasts (cut into bite-size cubes)
- 1 tsp salt
- ½ tsp black pepper
- 1 tsp garlic powder
- 2 eggs (beaten)
- ½ cup cornstarch
- ½ cup all-purpose flour
- 3 tbsp vegetable oil
Substitution Ideas
- Use chicken thighs for juicier texture.
- Replace flour with gluten-free flour for a gluten-free version.
- Air fryer spray oil can replace vegetable oil.
For the Sweet and Sour Sauce
- ¾ cup sugar
- 4 tbsp ketchup
- ½ cup rice vinegar
- 1 tbsp soy sauce
- 1 tsp garlic powder
- 1 tbsp cornstarch
- 2 tbsp water
Optional Add-ins
- Pineapple chunks
- Bell peppers
- Green onions
- Sesame seeds
These ingredients add texture and enhance the sweet and sour chicken flavor profile.
Timing
One reason people love Baked Sweet and Sour Chicken – Crispy Oven Version is that it’s quick enough for a weeknight meal.
- Preparation Time: 15 minutes
- Cooking Time: 40 minutes
- Total Time: 55 minutes
This is approximately 25% faster than many traditional deep-fried sweet and sour chicken recipes, which often involve multiple frying stages.
Step-by-Step Instructions
Step 1: Preheat the Oven
Preheat your oven to 325°F (165°C).
Add the vegetable oil to a 9×13 baking dish and place it in the oven while preheating. This warms the oil and helps create a crisp coating.
Tip: A hot pan helps replicate the effect of frying.
Step 2: Prepare the Chicken Coating
Season the chicken pieces with:
- Salt
- Pepper
- Garlic powder
Set up two bowls:
- Bowl 1: beaten eggs
- Bowl 2: mix cornstarch and flour
Dip each chicken piece into the egg mixture, then coat in the flour mixture.
Pro Tip: Shake off excess flour for an even crispy coating.
Step 3: Brown the Chicken
Heat a skillet over medium-high heat and lightly brown the coated chicken pieces in a little oil.
You don’t need to cook them fully—just 2 minutes per side until golden.
Why this works: Pre-browning creates a crisp texture that holds up during baking.
Step 4: Bake the Chicken
Carefully remove the hot baking dish from the oven.
Add the chicken pieces in a single layer.
Bake for 20 minutes, then flip the chicken pieces and bake another 15–20 minutes.
This process ensures even crispiness on all sides.
Step 5: Prepare the Sweet and Sour Sauce
In a medium bowl whisk together:
- Sugar
- Ketchup
- Rice vinegar
- Soy sauce
- Garlic powder
In a separate small bowl mix:
- Cornstarch
- Water
Add the slurry to the sauce mixture to help it thicken during baking.
Step 6: Coat and Finish Baking
Pour the sweet and sour sauce evenly over the baked chicken.
Return the dish to the oven and bake for 10 more minutes, stirring halfway through.
The sauce will thicken and coat every piece beautifully.
Step 7: Garnish and Serve
Remove the chicken from the oven and garnish with:
- Green onions
- Sesame seeds
- Fresh pineapple chunks
Serve hot over steamed rice, fried rice, or noodles.
Nutritional Information
Approximate values per serving (based on 4 servings):
| Nutrient | Amount |
|---|---|
| Calories | 420 kcal |
| Protein | 32 g |
| Carbohydrates | 36 g |
| Fat | 16 g |
| Sugar | 20 g |
| Fiber | 1 g |
Data Insight: Baking instead of deep frying can reduce total fat by 30–40%, depending on oil usage.
Healthier Alternatives for the Recipe
If you want to make this Baked Sweet and Sour Chicken – Crispy Oven Version even healthier, try these swaps.
Lower Sugar Version
Replace half the sugar with:
- honey
- maple syrup
- coconut sugar
Low-Carb Option
Use almond flour instead of regular flour and replace sugar with a keto-friendly sweetener.
High-Protein Variation
Serve with:
- cauliflower rice
- quinoa
- steamed broccoli
These combinations increase fiber and nutrients.
Serving Suggestions
This dish is versatile and pairs well with many sides.
Classic Pairings
- Steamed jasmine rice
- Vegetable fried rice
- Egg noodles
Healthy Pairings
- Stir-fried vegetables
- Cauliflower rice
- Asian cucumber salad
Party Serving Idea
Serve the crispy chicken as sweet and sour chicken bites with toothpicks for appetizers.
Common Mistakes to Avoid
Even experienced cooks sometimes struggle with texture. Avoid these common issues.
Skipping the Preheated Oil
Cold oil leads to soggy chicken instead of crispy coating.
Overcrowding the Pan
Crowding traps steam and prevents crisping.
Overmixing the Sauce
Too much cornstarch can make the sauce overly thick or gummy.
Baking at Too High a Temperature
Moderate heat ensures the chicken cooks evenly without burning.
Storing Tips for the Recipe
Refrigerator
Store leftovers in an airtight container for up to 3 days.
Freezer
Freeze cooked chicken (without sauce) for up to 2 months.
Reheating Tips
For best crispiness:
- Reheat in the oven at 350°F for 10 minutes
- Avoid microwaving if possible, as it softens the coating.
Conclusion
This Baked Sweet and Sour Chicken – Crispy Oven Version delivers restaurant-style flavor with a healthier twist. Crispy baked chicken paired with a tangy homemade sauce creates an irresistible meal perfect for weeknights or special occasions. Try it today, share your results in the comments, and subscribe to our blog for more delicious recipes and cooking tips.
FAQs
Can I make baked sweet and sour chicken ahead of time?
Yes. You can prepare the chicken and store it in the refrigerator for up to 24 hours before baking. Add the sauce just before the final bake.
Can I make this recipe in an air fryer?
Absolutely. Cook the coated chicken at 380°F for 12–15 minutes, then toss it with the sauce.
Why isn’t my chicken crispy?
Common reasons include:
- Not preheating the oil
- Too much sauce too early
- Overcrowded pan
Following the baking steps carefully will help achieve a crispy result.
Can I add vegetables to this recipe?
Yes. Popular additions include:
- bell peppers
- pineapple chunks
- onions
- snap peas
Add them during the final baking stage.
Is baked sweet and sour chicken healthier than takeout?
Typically yes. Homemade baked versions often contain less oil, less sodium, and fewer preservatives, making them a healthier alternative to restaurant versions.