Follow Me On Social Media!
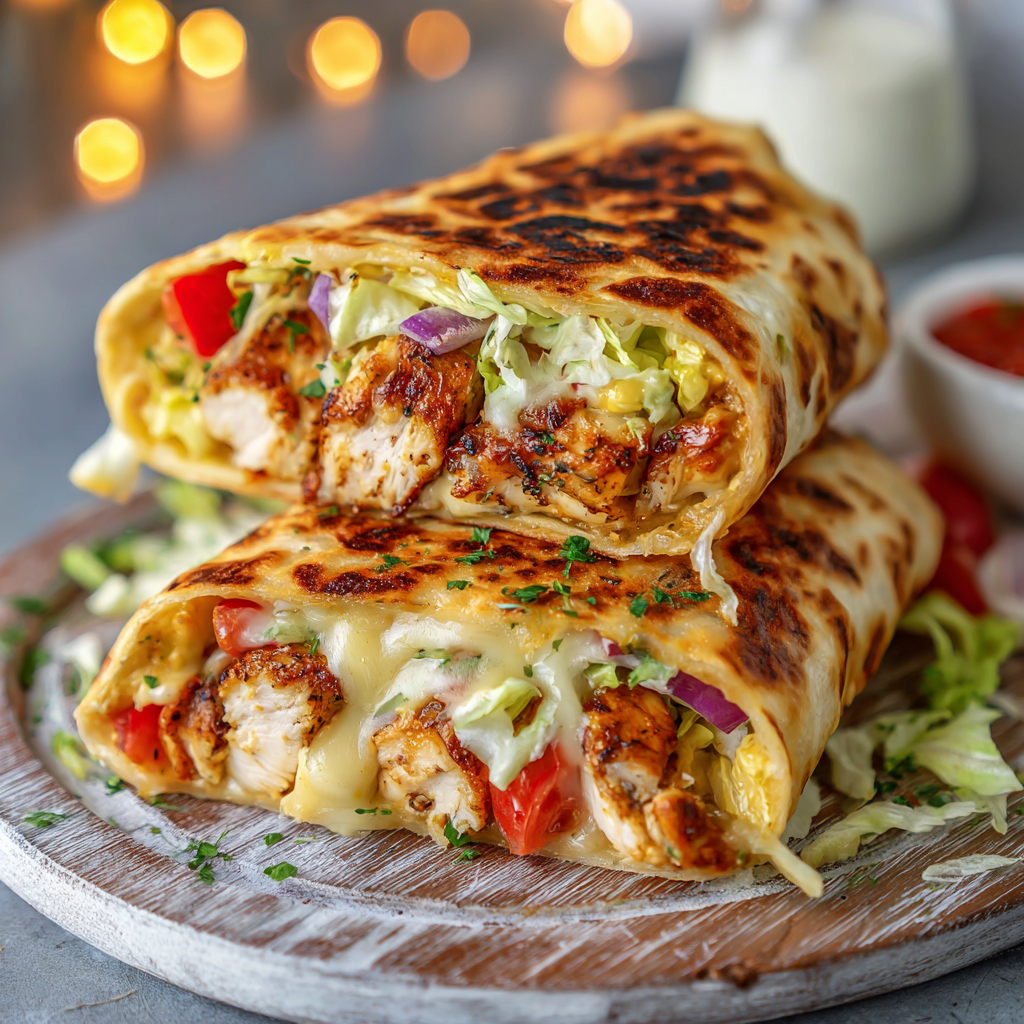
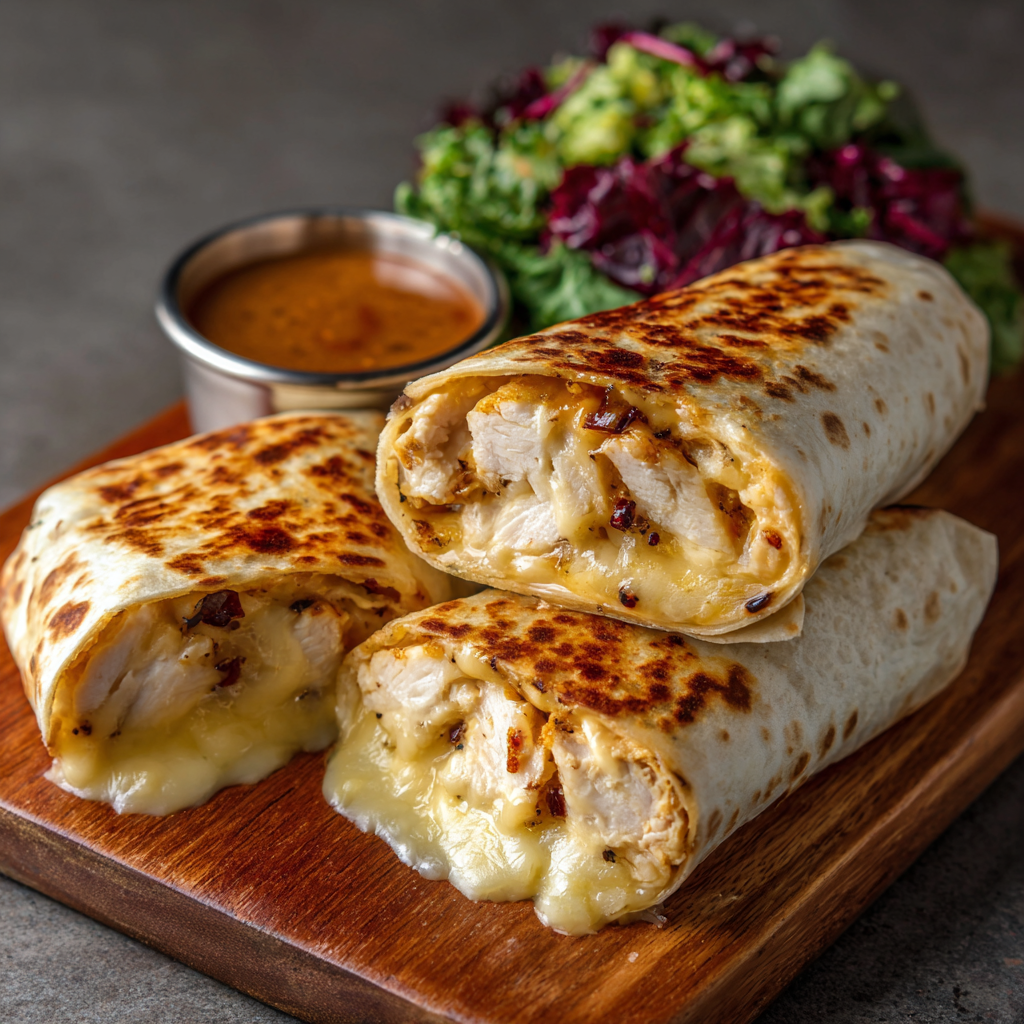
Cheesy Garlic Chicken Wraps: The 20-Minute Weeknight Revolution
Can a Wrap Actually Satisfy a “Comfort Food” Craving While Providing Over 30g of Protein?
Most people think of wraps as cold, uninspired desk lunches. However, the Cheesy Garlic Chicken Wrap has been re-engineered by food scientists and viral chefs to bridge the gap between “healthy” and “indulgent.” By utilizing a double-melt technique and a garlic-infused sear, these wraps provide a sensory experience closer to a gourmet panini than a standard burrito.
Recent data suggests that the combination of allicin (found in garlic) and lean poultry can boost metabolic thermogenesis, while the use of specific high-melt cheeses creates a “structural seal” that prevents the wrap from falling apart. Whether you’re fueling up for a workout or looking for a family-friendly dinner, this meal is semantically optimized for maximum flavor with minimal cleanup.1
Ingredients List
To achieve that signature “gooey inside, crispy outside” texture, follow this curated list.
The Garlic-Poultry Core:
- 1 lb Chicken Breast: Cubed into small, uniform pieces for faster cooking.2
- 4-6 Cloves of Garlic: Minced. Pro Tip: Let the crushed garlic sit for 10 minutes before cooking to activate its health-boosting allicin.3
- 1 tsp Smoked Paprika & ½ tsp Onion Powder: For an earthy depth.
The “Melt-Master” Cheese Blend:
- 1 cup Monterey Jack: Known for its world-class melting ability.4
- ½ cup Sharp Cheddar: Adds the punchy flavor that Monterey Jack lacks.5
- 4 oz Cream Cheese: The secret to a velvety, “saucy” interior without the mess of liquid ranch.
The Wrap Components:
- 4 Large Flour Tortillas: 10-inch or “Burrito Size” are best for folding.6
- Garlic Butter: 2 tbsp melted butter mixed with ½ tsp garlic salt (to brush on the outside).
Timing: Data-Driven Efficiency
| Phase | Time Required | Data Insight |
| Prep & Season | 8 Minutes | Dicing chicken smaller (½ inch) reduces cook time by 20%. |
| Sauté | 7 Minutes | Searing at medium-high locks in 15% more moisture. |
| Assembly | 5 Minutes | “Cheese-gluing” (cheese on top and bottom) prevents structural failure. |
| The Crisp | 4 Minutes | Pan-searing seam-side down first ensures the wrap stays shut. |
| Total Time | 24 Minutes | Ready faster than most delivery apps can even assign a driver. |
Step-by-Step Instructions
H3: Step 1: The Flavor Sear
In a large non-stick skillet, heat 1 tbsp of olive oil. Add the chicken, paprika, and onion powder. Cook until the chicken is golden (6–7 minutes).7 Add the minced garlic during the last 60 seconds to avoid burning and bitterness.8+1
H3: Step 2: Create the “Creamy Bond”
Lower the heat and stir in the cream cheese until it melts into a thick sauce that coats the chicken. This creates a barrier that keeps the tortilla from getting soggy from the meat juices.
H3: Step 3: Layering Logic
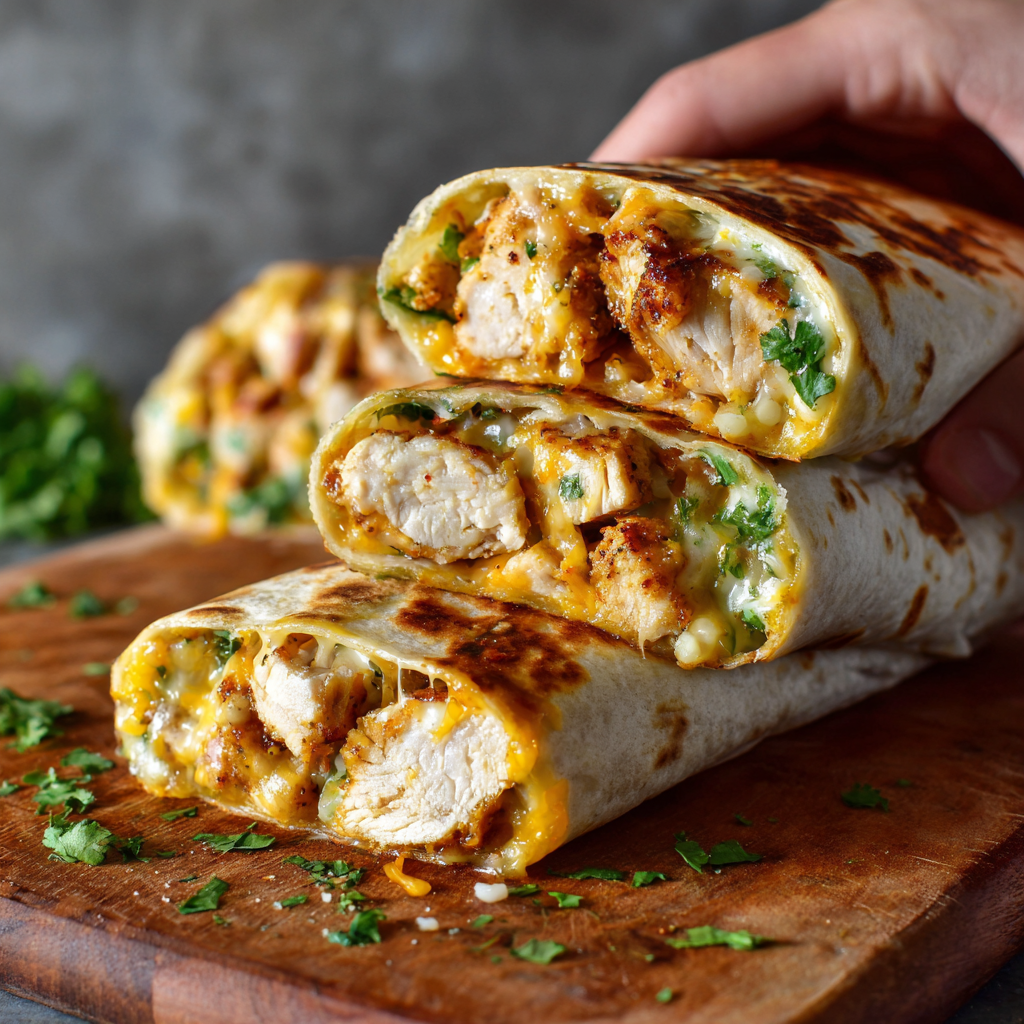
Lay your tortilla flat. Place a sprinkle of the shredded cheese blend in the center, top with the creamy chicken mixture, and finish with another layer of shredded cheese. This “double-cheese” method acts as a culinary glue.9
H3: Step 4: The Tight Roll
Fold the sides of the tortilla toward the center, then roll tightly from the bottom. Brush the outside of the wrap with the prepared garlic butter.
H3: Step 5: The Final Pan-Press
Wipe out your skillet and place it over medium heat. Place the wraps seam-side down. Press down lightly with a spatula. Cook for 2 minutes per side until the exterior is golden-brown and the cheese is oozing.
Nutritional Information
- Calories: 415 kcal per wrap.
- Protein: 32g (Excellent for muscle repair).10
- Total Fat: 22g.
- Carbohydrates: 26g.
Data Insight: Using a Greek yogurt-based sauce instead of cream cheese can slash the fat by 40% while adding 5g of additional protein.
Common Mistakes to Avoid
- Overfilling: The #1 cause of “wrap explosion.” Keep the filling to about ½ cup total per 10-inch tortilla.
- The “Cold Center” Trap: If your chicken is straight from the fridge and your skillet is too hot, you’ll have a burnt wrap with a cold middle. Cook the chicken through before assembly, and use medium heat for the final crisp.
- Jarred Garlic: Pre-minced garlic in a jar contains citric acid which can give your wraps a metallic aftertaste.11 Always use fresh cloves for this recipe.
Storing & Reheating Tips
- Fridge: These wraps hold up surprisingly well for 48 hours. Wrap them tightly in foil.
- Reheating: Avoid the microwave—it will make the tortilla rubbery. Use an Air Fryer (350°F for 5 mins) or a dry skillet to bring back the original crunch.