Follow Me On Social Media!
Easy Homemade Pancakes: The Science of “Chemical Leavening & Gluten Control”
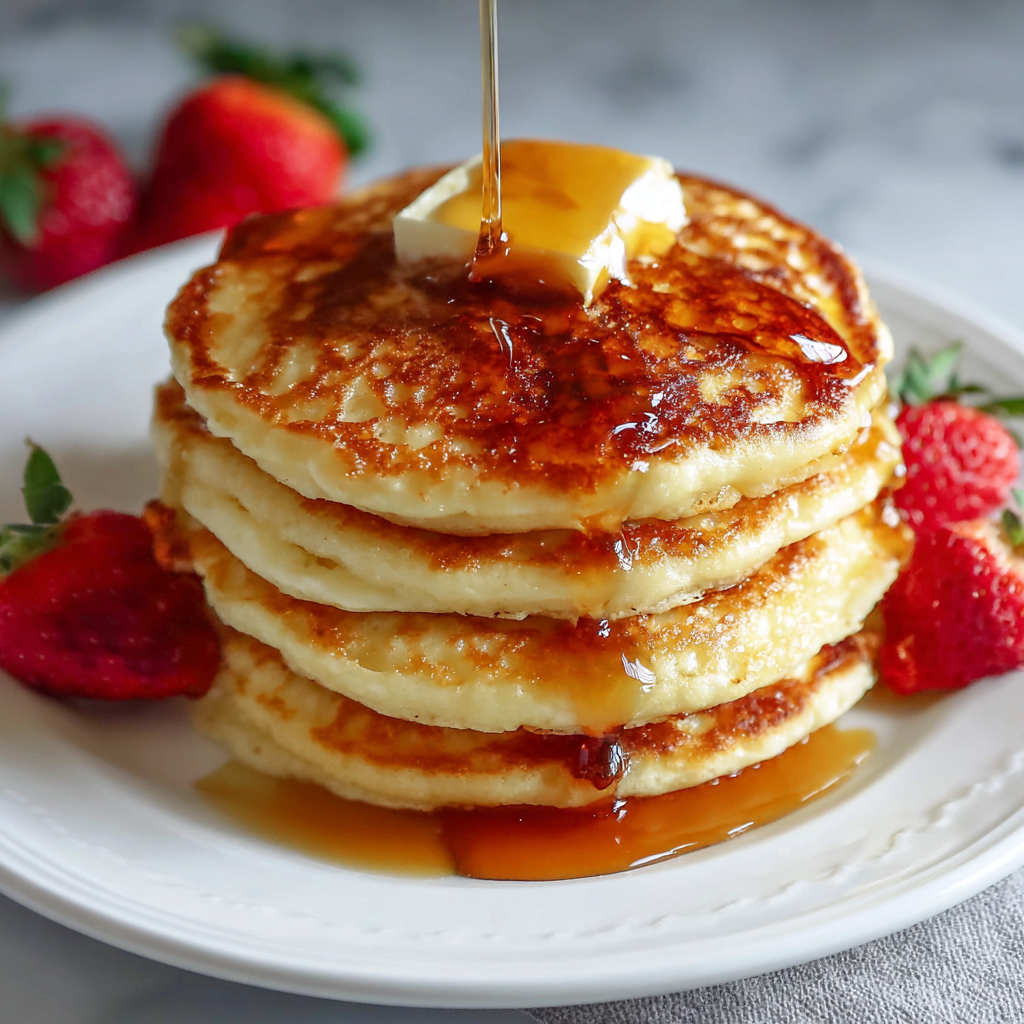
The perfect pancake is a balance of fluffiness (air) and tenderness (lack of gluten). While a “boxed mix” is convenient, homemade pancakes allow you to control the pH balance of the batter. By using an acid (like buttermilk or lemon-spiked milk) and a base (baking powder/soda), you trigger an immediate release of $CO_2$ gas, creating the “bubbles” that make pancakes rise.
Ingredients List: The Fluff Matrix
- 1 ½ cups All-Purpose Flour: The structural base.
- 3 ½ tsp Baking Powder: The Science: This is a “double-acting” agent. It releases some gas when it hits liquid and more when it hits the heat of the pan.+1
- 1 tbsp White Sugar: For flavor and to aid in Maillard browning.
- ½ tsp Salt.
- 1 ¼ cups Milk: (Or buttermilk for more lift).
- 1 Egg: Provides the protein “web” to trap the air bubbles.
- 3 tbsp Melted Butter: Provides the lipids to coat flour proteins and prevent a “rubbery” texture.
Timing: The Efficiency Window
| Phase | Duration | Data Insight |
| The Batter Rest | 5-10 Minutes | Allows flour to fully hydrate and gluten to relax for tenderness. |
| The First Side | 2-3 Minutes | Wait for bubbles to “pop” on the surface. |
| The Flip | 1-2 Minutes | To set the internal protein structure. |
| Total Time | Approx. 15 Minutes | High-yield breakfast. |
Step-by-Step Instructions
Step 1: The Dry Sift
In a large bowl, whisk together the flour, baking powder, sugar, and salt. The Logic: Whisking aerates the flour and ensures the baking powder is evenly distributed. If the powder is “clumped,” you will get bitter-tasting spots and uneven rising.
Step 2: The Lipid-Liquid Emulsion
Make a well in the center of the dry ingredients and pour in the milk, egg, and melted butter. Actionable Tip: Ensure your milk isn’t ice-cold, or it will re-solidify the melted butter into small chunks.
Step 3: The “Lumpy” Mix
Stir until just combined. Crucial Rule: Stop as soon as the flour streaks disappear. The Physics: Over-mixing develops gluten. Too much gluten turns a pancake into a chewy piece of bread rather than a fluffy disc. A few lumps are your friend.
Step 4: The Surface Tension
Heat a lightly oiled griddle or frying pan over medium-high heat ($190$°C). Pour roughly ¼ cup of batter for each pancake. Visual Cue: Wait until bubbles form on the surface and the edges look “matte” or dry.
Step 5: The Flip & Set
Flip the pancake. The Result: The heat from the pan causes the trapped $CO_2$ to expand rapidly (Oven Spring), while the egg proteins solidify to lock that air in place. Cook until golden brown on the second side.
Success Tips & Common Mistakes
- The “Rubbery” Fail: This is almost always caused by over-mixing. Use a folding motion with a spatula rather than a whisk once you add the liquid.
- The “Flat” Fail: Check the expiration date on your baking powder. It loses its potency over time and won’t produce enough gas to lift the heavy flour.
- The Temperature Test: If the first pancake burns on the outside but is raw in the middle, your pan is too hot. Lower the heat and wait 2 minutes for the pan’s thermal mass to stabilize.
Nutritional Information (Per Pancake)
- Calories: 160 kcal.
- Total Fat: 6g.
- Carbohydrates: 22g.
- Protein: 4g.
Conclusion
Easy Homemade Pancakes are a masterclass in chemistry. By respecting the “no-mix” rule and allowing the batter a short rest, you ensure that the chemical leavening can do the heavy lifting for you.