
Follow Me On Social Media!
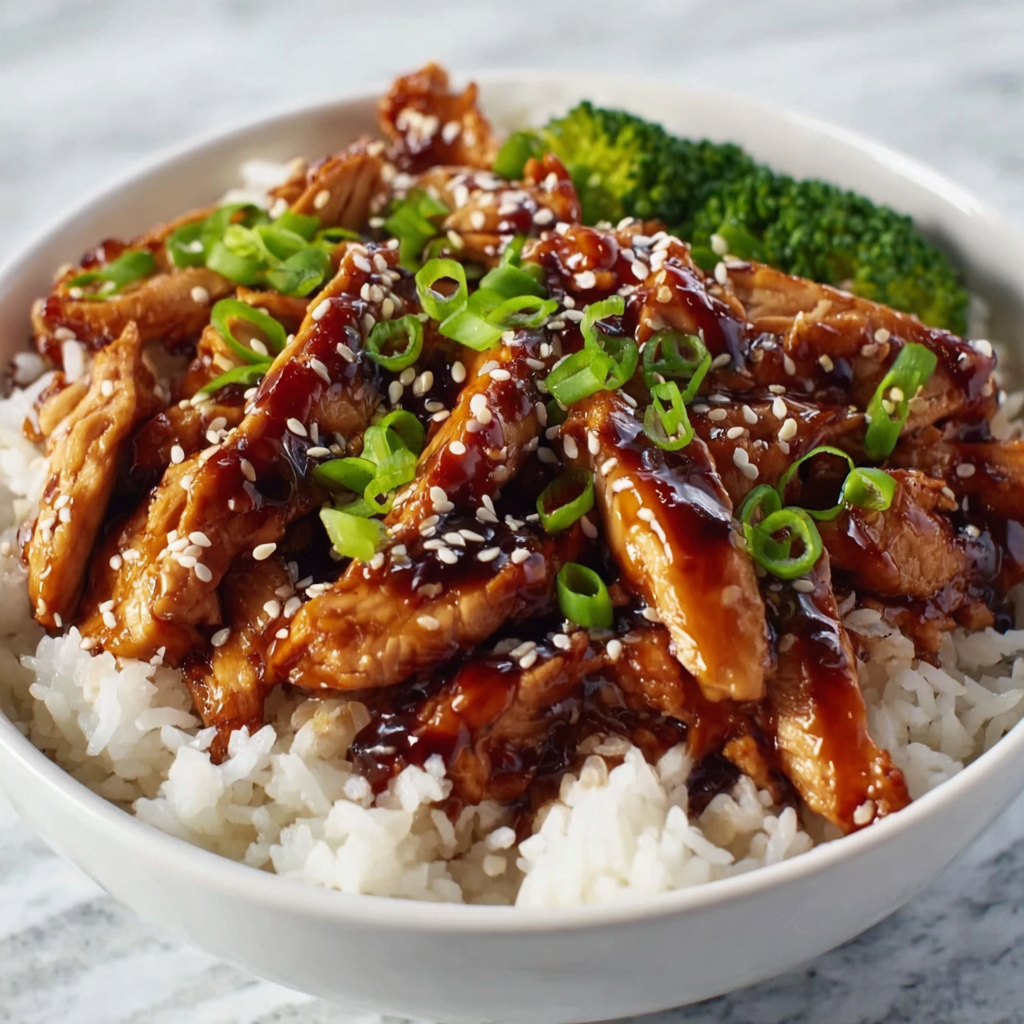
The Ultimate Teriyaki Chicken Rice Bowl: Better Than Takeout
Introduction
Did you know that the average American household spends over $3,000 annually on takeout, with Asian-fusion dishes ranking in the top three most ordered categories? We all crave that glossy, sweet-and-savory glaze that coats tender chicken and sticky rice, but here is the reality check: Most restaurant versions are loaded with corn syrup and sodium, and the chicken is often dry. But here is a question that will change your weeknight dinner rotation: What if you could master the chemistry of a true Japanese tare (glaze) in less time than it takes for the delivery driver to arrive?
This Teriyaki Chicken Rice Bowl is not just a recipe; it is a lesson in balance. We are ditching the bottled sauces—which are often just thickened soy sauce—in favor of the authentic quartet of soy, mirin, sake, and sugar. By understanding how to reduce these sugars to the perfect viscosity without burning them, you create a meal that is umami-rich, visually stunning, and incredibly satisfying. In this guide, we will break down the “sear and simmer” technique that guarantees juicy chicken every single time.
Ingredients List
To replicate the depth of flavor found in authentic Japanese cooking, specific ingredients are required. However, we have included accessible substitutions.
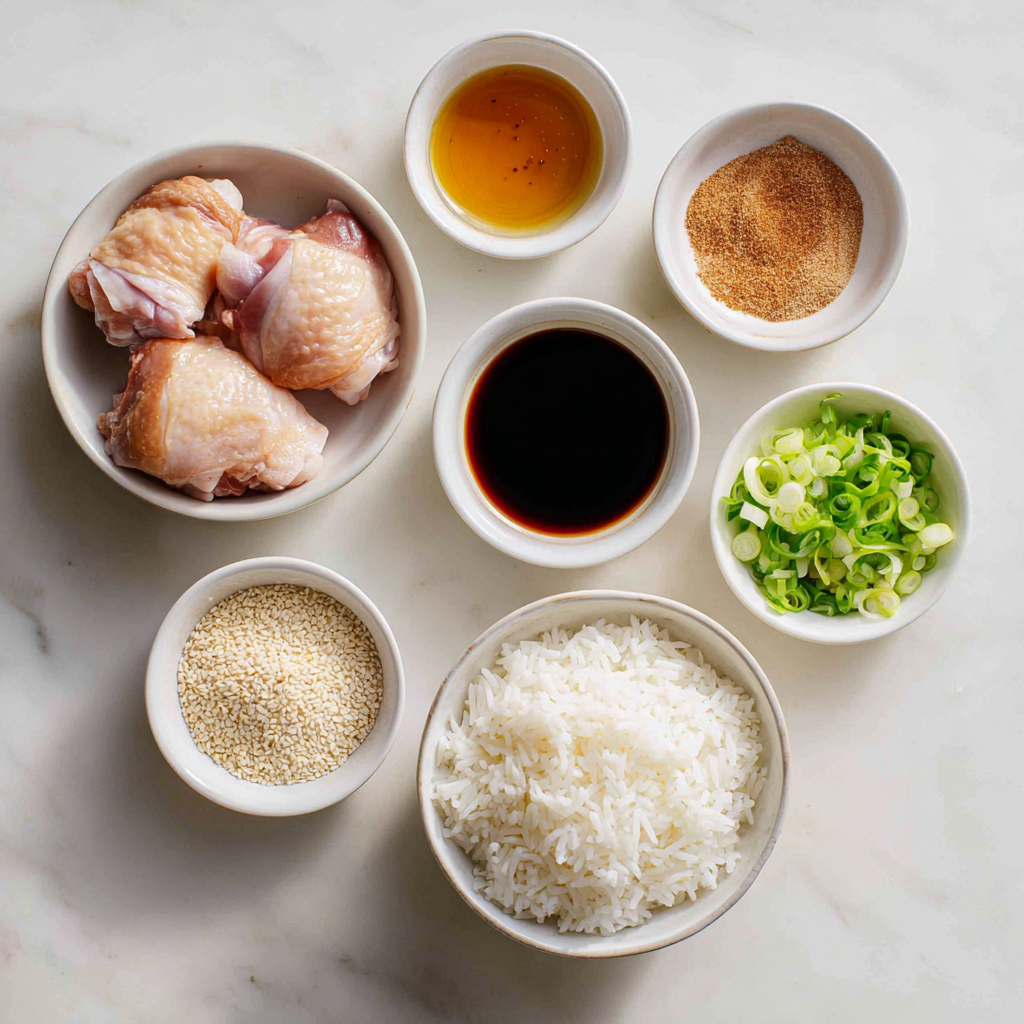
The Protein & Base
- Chicken Thighs: 1.5 lbs, boneless and skin-on (preferred) or skinless.
- Why Thighs? Chicken breast dries out quickly under high heat and sugar. Thighs remain juicy and forgiving.
- Short-Grain White Rice (Sushi Rice): 2 cups (uncooked). The stickiness is essential for soaking up the sauce.
- Broccoli Florets: 2 cups, steamed or roasted.
The Authentic Teriyaki Sauce (The “Tare”)
- Soy Sauce: ½ cup. (Use low-sodium to control the saltiness).
- Mirin: ¼ cup. A sweet Japanese rice wine that provides the signature sheen.
- Sake: ¼ cup. Dry cooking sake adds sharpness to cut the sugar.
- Sub: If you cannot find Sake, use dry sherry or simply water.
- Brown Sugar: 3 tablespoons. Packed.
- Garlic: 2 cloves, minced.
- Ginger: 1 teaspoon, fresh grated. (Essential for that zesty kick).
- Cornstarch Slurry: 1 tsp cornstarch mixed with 1 tsp water (optional, for a thicker “American style” sauce).
Substitutions
- Gluten-Free: Swap the soy sauce for Tamari or Coconut Aminos.
- Meat-Free: Firm tofu is an excellent vessel for teriyaki sauce. Press the water out first for a better sear.
- Grain Swap: Use Jasmine rice for a lighter texture, or brown rice for a nuttier, fiber-rich base.
Timing
This is a high-speed recipe. Once the chicken hits the pan, things move quickly.
- Prep Time: 15 minutes
- Cook Time: 15 minutes
- Rice Cook Time: 20 minutes (passive)
- Total Time: Approx. 35 minutes
Data Insight: Making your own teriyaki sauce takes exactly 4 minutes of simmering. This is faster than reading the ingredient label on a store-bought bottle to check for preservatives.
Step-by-Step Instructions
Step 1: The Rice Foundation
Rinse your sushi rice under cold water until the water runs clear. This removes excess surface starch, preventing the rice from becoming a gloopy paste. Cook according to package instructions (or use a rice cooker).
Step 2: The Sear (Maillard Reaction)
Pat the chicken thighs completely dry with paper towels. Season lightly with salt and pepper.
Heat a large skillet over medium-high heat with a splash of oil. Place chicken skin-side down (if using skin) or smooth-side down.
- Technique: Cook for 4–5 minutes undisturbed until deep golden brown. Flip and cook for another 3 minutes until nearly cooked through. Remove chicken from the pan and set aside. (It’s okay if it’s slightly pink in the center; it will finish in the sauce).
Step 3: The Deglaze
Pour out most of the chicken fat, leaving about 1 teaspoon in the pan. Add the grated ginger and garlic. Sauté for 30 seconds until fragrant.
Pour in the sake and mirin. Use a wooden spoon to scrape up the browned bits (fond) left by the chicken.
Step 4: The Reduction
Add the soy sauce and brown sugar. Bring to a boil, then reduce to a simmer. Let it bubble for 3–4 minutes.
- Visual Cue: The sauce is ready when the bubbles turn from small and rapid to large and glossy, and the liquid coats the back of a spoon. If you like a very thick sauce, whisk in your cornstarch slurry now.
Step 5: The Glaze
Slice the resting chicken into strips or bite-sized chunks. Toss the chicken back into the pan with the bubbling sauce. Toss to coat for 1–2 minutes. The sauce will cling to the meat, creating that shiny, appetizing look.
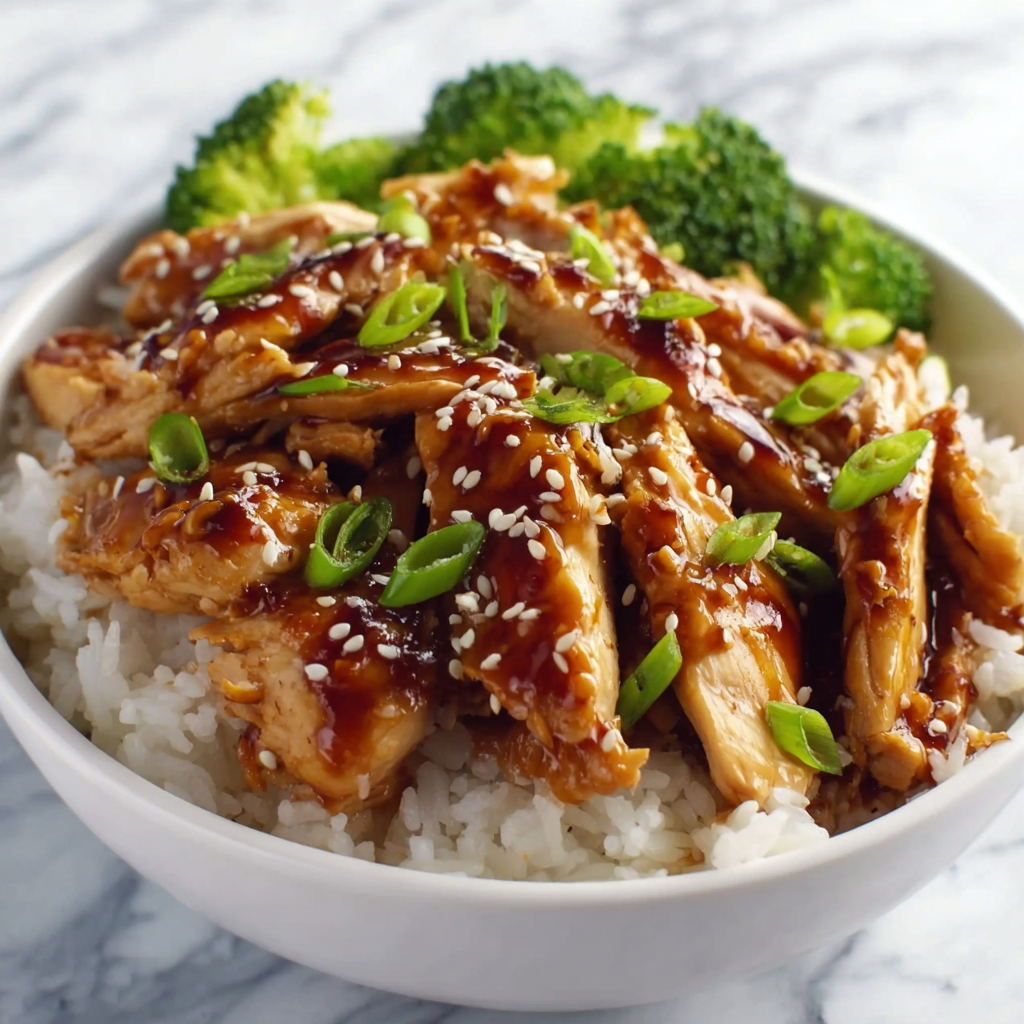
Step 6: Assembly
Scoop a generous mound of sticky rice into a bowl. Arrange the glazed chicken next to the steamed broccoli. Drizzle extra sauce from the pan over the rice.
Nutritional Information
While delicious, teriyaki is high in sodium and sugar, so balance is key.
| Nutrient | Amount per Serving (1 Bowl) |
| Calories | ~550 kcal |
| Protein | 35g |
| Carbohydrates | 65g |
| Total Fat | 12g |
| Sugar | 18g |
| Sodium | 900mg |
> Data Insight: A typical restaurant teriyaki bowl can exceed 2,000mg of sodium. By using low-sodium soy sauce at home, you reduce the salt content by nearly 40% without sacrificing flavor.
Healthier Alternatives for the Recipe
To make this Teriyaki Chicken Rice Bowl fit a stricter dietary profile:
- Sugar Reduction: Substitute brown sugar with a monk fruit/erythritol sweetener or use pineapple juice for natural sweetness. This drastically lowers the glycemic load.
- The Cauliflower Hack: Use cauliflower rice instead of white rice. Sauté the cauliflower with sesame oil to mimic the fried rice flavor. This saves about 40g of carbs per bowl.
- Lean & Green: Use chicken breast, but velvet it first (coat in cornstarch and baking soda) to keep it tender. Double the broccoli and add snap peas to increase the fiber volume.
Serving Suggestions
Presentation turns a bowl into a meal.
- The Crunch: Garnish generously with toasted sesame seeds and sliced green onions (scallions).
- The Acid: Serve with a side of pickled ginger (gari) or kimchi. The acidity cuts through the sweet, salty richness of the teriyaki.
- The Creaminess: A drizzle of spicy mayo (sriracha + mayo) or a soft-boiled egg (Onsen egg) adds a luxurious texture.
Common Mistakes to Avoid
- Burning the Garlic: Mistake: Adding garlic at the high-heat searing stage. Fix: Add garlic after the chicken is removed, right before the liquids, to prevent it from turning bitter.
- Watery Sauce: Mistake: Not letting the sauce reduce enough. Fix: Be patient. The water needs to evaporate for the sugar and soy to form a glaze. It should look like syrup, not broth.
- Soggy Rice: Mistake: Putting hot rice in a bowl and letting it sit too long before serving. Fix: Fluff the rice immediately after cooking to release steam.
Storing Tips for the Recipe
This is an excellent meal prep candidate.
- Refrigeration: Store the chicken, rice, and veggies in separate compartments if possible, or layered in airtight containers for up to 4 days.
- Reheating: Microwave with a damp paper towel over the bowl. This steams the rice and chicken, preventing them from drying out.
- Freezing: The chicken freezes well in the sauce. The rice freezes well too. Freeze them in individual portions for a quick microwave dinner.
Conclusion
The Teriyaki Chicken Rice Bowl is a testament to the power of simple ingredients. By respecting the balance of the four key elements—salt (soy), sweet (sugar/mirin), acid (sake), and fat (chicken)—you create a harmony of flavor that is universally loved. It is quick enough for a Tuesday but special enough for a Saturday.
Ready to ditch the delivery app? Check your pantry for soy sauce and get cooking! If you try this recipe, leave a comment below telling us if you used thighs or breast. Don’t forget to subscribe for more “fakeout” takeout recipes.
FAQs
1. What is Mirin and do I need it?
Mirin is a sweet Japanese rice wine. It adds a specific luster and sweetness that sugar alone cannot replicate. If you absolutely can’t find it, mix 1 tablespoon of water with 1 teaspoon of sugar as a rough substitute, but the flavor won’t be as complex.
2. Can I cook the vegetables in the sauce?
Yes! You can toss the broccoli or carrots into the pan with the chicken during the final minute of cooking. They will pick up the glaze flavor beautifully.
3. Is store-bought sauce okay?
In a pinch, yes. However, store-bought sauce is usually much thicker (like gel) and sweeter. If using bottled sauce, try adding a splash of fresh ginger and garlic to wake up the flavors.
4. Why is my chicken tough?
This happens if you overcook the chicken during the searing phase or boil it too long in the sauce. Remember, the chicken continues to cook slightly when you toss it in the hot glaze. Pull it off the heat when it just hits 165°F.