
Follow Me On Social Media!
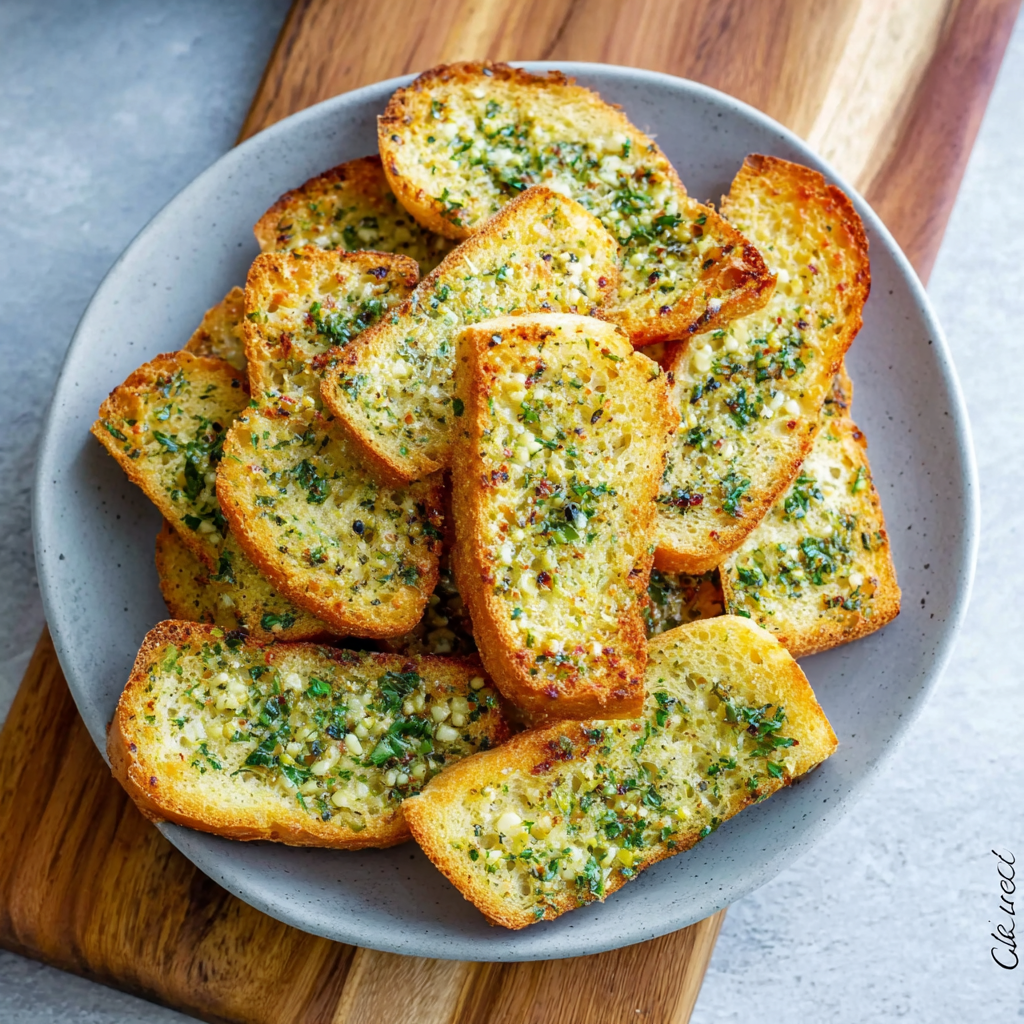
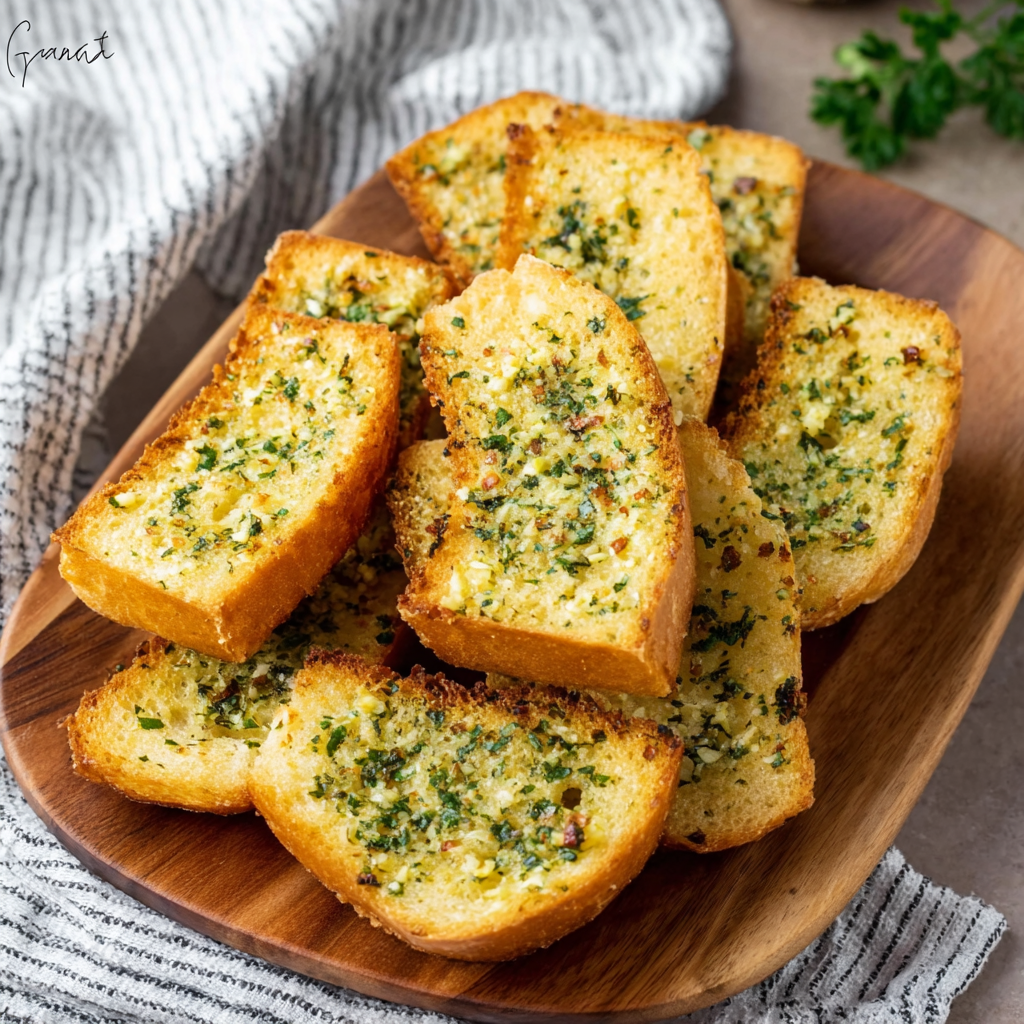
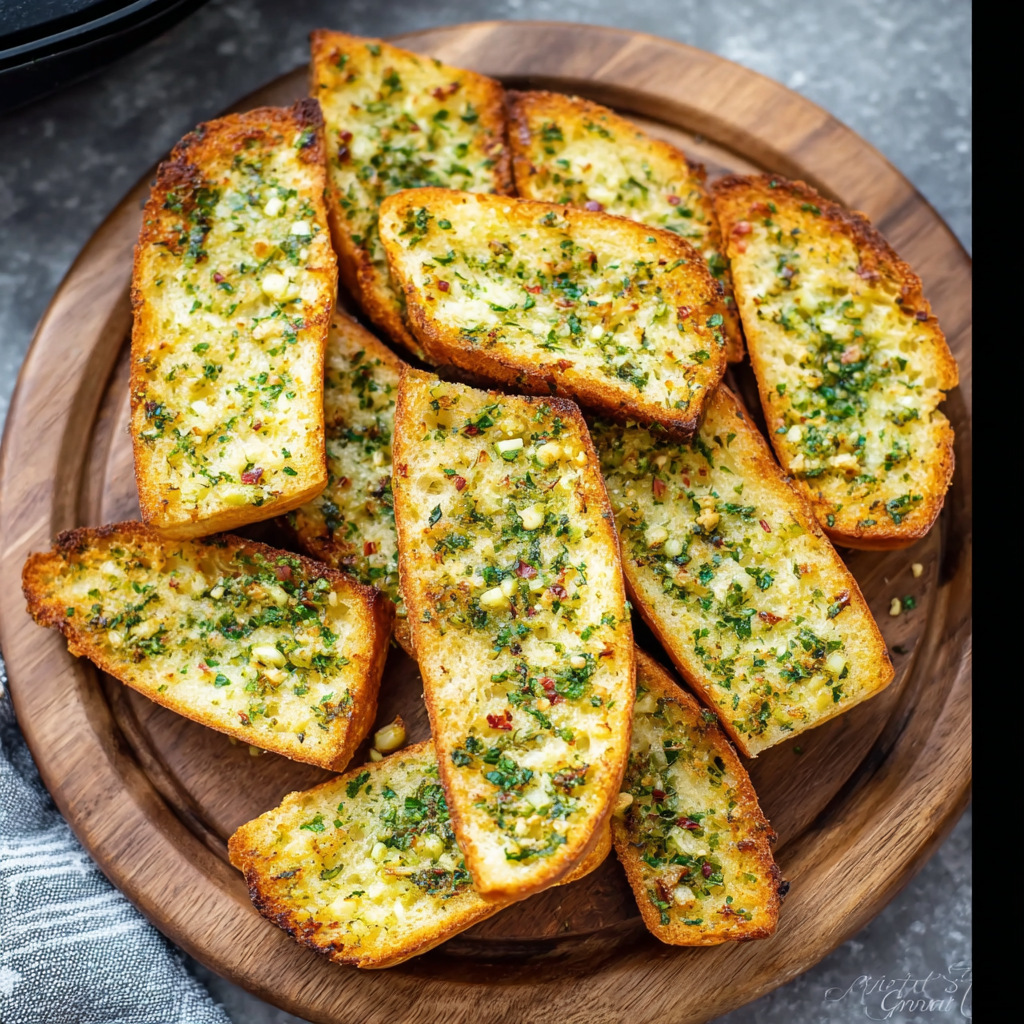
10-Minute Air Fryer Garlic Bread: The Science of “High-Velocity Crust Osmosis”
Why the Air Fryer is Superior to the Oven
Standard oven-baked garlic bread often suffers from a “bready” center or an unevenly toasted crust. The Air Fryer solves this through High-Velocity Convection.
According to culinary physics, the rapid air circulation in an air fryer strips away the “boundary layer” of cool air surrounding the bread. This triggers the Maillard Reaction almost instantly on the surface, while the intense heat pushes the Garlic-Lipid Emulsion (the butter and oil) deep into the pores of the bread via Capillary Action. The result is a crust that “shatters” upon impact and an interior that is saturated with garlic flavor, achieved in $40\%$ less time than a conventional oven.
Ingredients List: The Flavor-Fat Matrix
To achieve the perfect “golden-to-soft” ratio, we utilize a mix of fats for both flavor and thermal conductivity.
- 1 French Baguette or Ciabatta Loaf: Sliced into 1-inch thick rounds or halved lengthwise.
- 4 tbsp Unsalted Butter: (Softened). The Science: Butter provides the milk solids that brown and create a nutty aroma.
- 1 tbsp Extra Virgin Olive Oil: The Logic: Olive oil has a higher smoke point than butter, preventing the bread from tasting “burnt” in the high-intensity air stream.
- 3-4 cloves Garlic: Freshly minced. (Avoid jarred garlic; it lacks the allicin punch needed for a short cook time).
- 1 tbsp Fresh Parsley: Finely chopped.
- 1/4 cup Grated Parmesan: For a salty, umami crust.
- Pinch of Red Pepper Flakes: (Optional, for “heat spikes”).
Timing: Data-Driven Efficiency
| Phase | Duration | Data Insight |
| The Emulsion Mix | 2 Minutes | Whisking ensures the garlic is suspended evenly in the fats. |
| The Air Fry ($180$°C) | 4-6 Minutes | Rapid dehydration of the surface creates the “crunch” layer. |
| The Residual Rest | 1 Minute | Allows the molten butter to “set” so it doesn’t run off. |
| Total Time | Approx. 9 Minutes | High-utility side dish. |
Step-by-Step Instructions
Step 1: The Lipid Integration
In a small bowl, combine the softened butter, olive oil, minced garlic, parsley, and parmesan. Actionable Tip: Use a fork to mash the garlic into the butter. The Science: Creating a uniform paste ensures that no single bite is overwhelmed by raw garlic, which can be caustic if not properly distributed.
Step 2: The Saturated Spread
Slather a generous layer of the garlic butter onto each slice of bread. The Logic: Don’t be shy; the air fryer’s fan will evaporate moisture quickly, so a thick layer of fat is necessary to keep the crumb tender.
Step 3: The Non-Overlapping Load
Place the bread slices in the air fryer basket in a single layer. Critical Rule: Do not overlap. The Physics: Air fryers rely on “vertical airflow.” If you stack the bread, the bottom slices will stay soggy, and the top slices will burn.
Step 4: The Convection Blast
Air fry at 350°F (180°C) for 4–6 minutes. Visual Cue: At the 4-minute mark, check for a “deep gold” color. If you prefer a “shatter-crisp” texture, go the full 6 minutes.
Step 5: The Flavor Lock
Remove the bread and let it sit for 60 seconds before serving. The Logic: This allows the “bubble-hot” butter to re-solidify slightly, ensuring the flavor stays in the bread rather than on your fingers.
Success Tips & Common Mistakes
- The “Garlic Burn” Fail: Garlic burns at a lower temperature than bread. If your garlic is turning bitter/black before the bread is toasted, lower the temperature to $325$°F ($160$°C) and add 1 minute to the cook time.
- The “Flying Parsley” Fail: High-velocity fans can sometimes blow light toppings off. Press the parsley and cheese firmly into the butter paste to “glue” them down.
- The Bread Choice: Use a bread with an open “crumb” (lots of holes), like Ciabatta. These holes act as “flavor reservoirs” for the garlic butter to pool into.
Nutritional Information (Per Slice)
- Calories: 145 kcal.
- Total Fat: 9g.
- Carbohydrates: 12g.
- Protein: 3g.
Conclusion
10-Minute Air Fryer Garlic Bread is the definitive way to achieve professional results with minimal hardware. By leveraging high-velocity air, you create a superior textural contrast—a glass-like exterior and a buttery, pillowy interior—that a standard oven simply cannot replicate in under 10 minutes.