
Follow Me On Social Media!
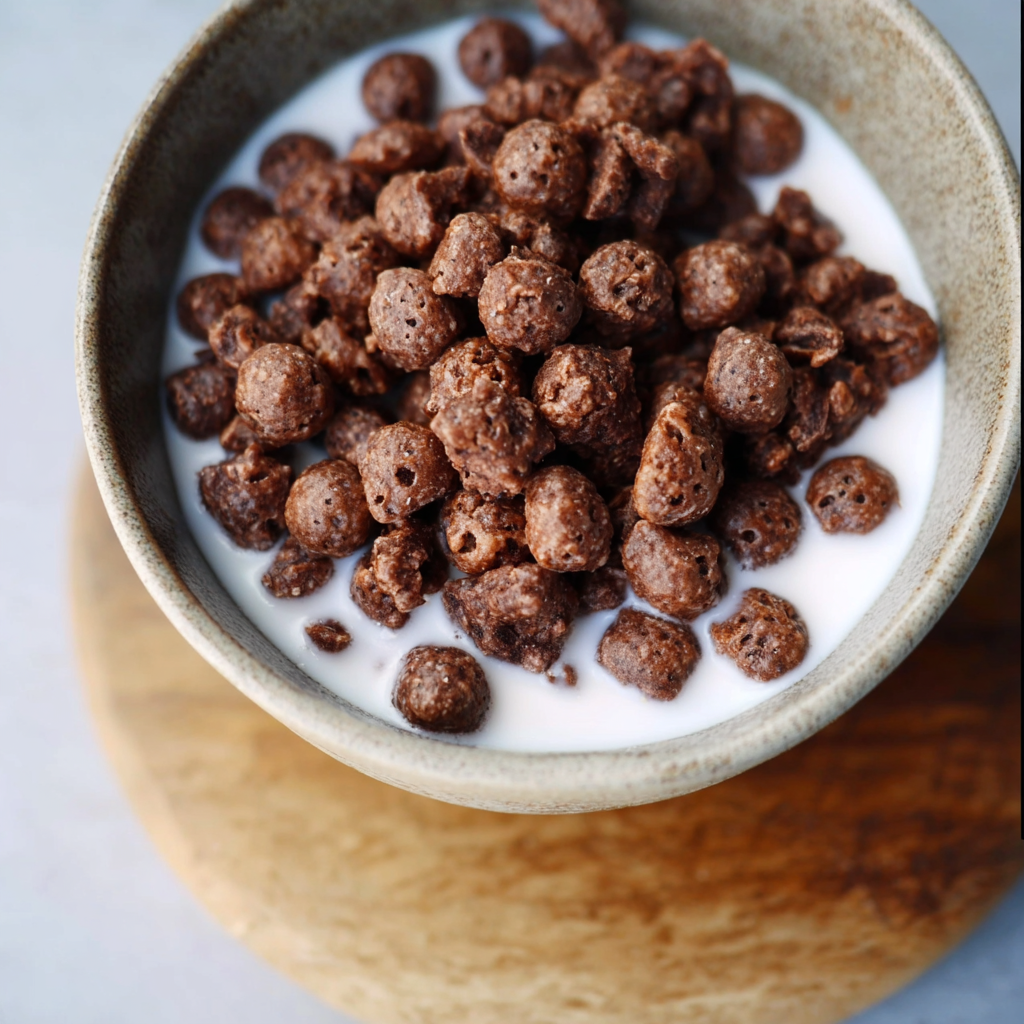
Healthy Homemade Chocolate Puff Cereal: The Science of “Whole-Grain Aeration”
Why Homemade “Puffs” Are Nutritionally Superior
Commercial chocolate cereals are typically made using Extrusion Cooking, where grains are blasted through a pressurized nozzle, stripping them of fiber and coating them in refined syrups.
This healthy homemade version utilizes Composite Flour Binding. By combining almond flour (healthy fats) and oat flour (complex carbohydrates) with a natural binder like nut butter, we create a nutrient-dense dough. When baked, the small amount of moisture in the nut butter evaporates, creating Micro-Pores that give the cereal its characteristic “crunch” without the need for industrial processing or high-fructose corn syrup.
Ingredients List: The Low-Glycemic Matrix
- 1 cup Oat Flour: (Blend rolled oats until fine). The Science: Oats contain Beta-Glucan, a soluble fiber that slows digestion.
- 1/2 cup Fine Almond Flour: Adds protein and prevents the cereal from being too “starchy.”
- 1/4 cup Unsweetened Cocoa Powder: For antioxidant-rich chocolate flavor.
- 1/4 cup Pure Maple Syrup or Honey: To provide the “tack” needed to hold the puffs together.
- 1/4 cup Creamy Almond or Peanut Butter: Acts as the primary lipid (fat) source for texture.
- 1/2 tsp Baking Soda: The Logic: This reacts with the slight acidity in the cocoa/syrup to create tiny air bubbles for a lighter “puff.”
Timing: Data-Driven Efficiency
| Phase | Duration | Data Insight |
| Dough Binding | 5 Minutes | Mixing allows the oat fiber to hydrate and become “pliable.” |
| The Rolling | 10 Minutes | Consistent 1cm sizing ensures a uniform “dehydration” rate. |
| The Crisp Bake | 12-15 Minutes | Baking at $160$°C prevents the cocoa from becoming bitter. |
| Total Time | Approx. 30 Minutes | Bulk-ready breakfast meal prep. |
Step-by-Step Instructions
Step 1: The Dry-Wet Integration
In a large bowl, whisk together the oat flour, almond flour, cocoa powder, and baking soda. In a small microwave-safe bowl, warm the nut butter and maple syrup until fluid, then pour over the dry ingredients. The Science: Warming the lipids (fats) lowers their viscosity, allowing them to coat every grain of flour evenly.
Step 2: The “Micro-Ball” Formation
This is the most time-consuming step. Pinch off tiny pieces of dough (about the size of a chickpea) and roll them into small spheres. Actionable Tip: If the dough is too sticky, chill it in the fridge for 10 minutes to “set” the fats.
Step 3: The Dehydration Bake
Preheat your oven to 325°F (160°C). Spread the puffs on a parchment-lined tray. Bake for 12–15 minutes. Visual Cue: The puffs won’t change color much because they are already dark, but they should feel “firm” when touched.
Step 4: The Crucial “Air-Dry” Phase
Turn off the oven, crack the door open, and let the cereal sit inside for another 10 minutes. The Physics: This final stage removes the remaining internal moisture, ensuring the cereal stays “crunchy” once milk is added rather than turning into mush.
Step 5: The Seal
Let the cereal cool completely before moving it to an airtight container. The Logic: Any residual warmth will create steam in the container, which will soften the cereal.
Success Tips & Common Mistakes
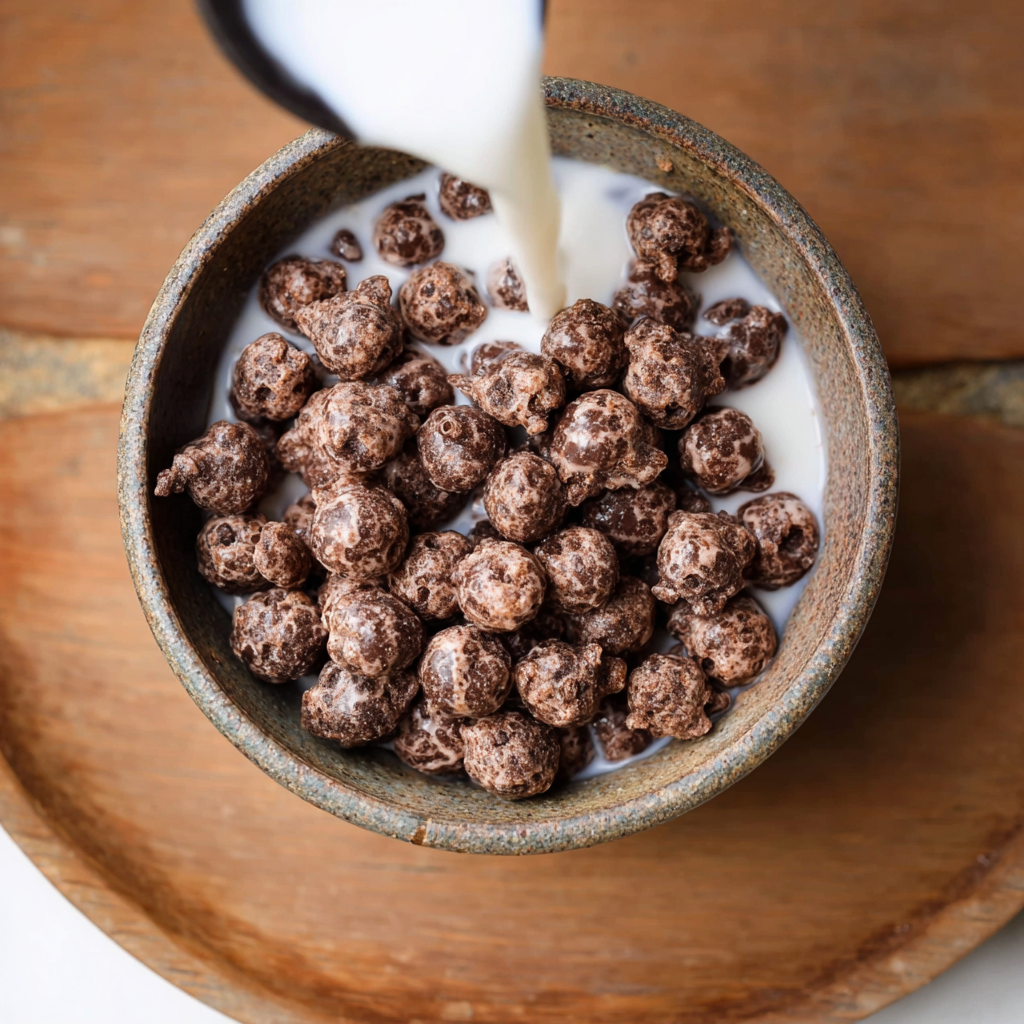
- The “Soggy Milk” Fail: Homemade cereal doesn’t have the “varnish” of wax and sugar found in commercial brands. To keep it crunchy longer, use cold milk and eat it promptly.
- The “Bitter” Fail: Cocoa powder burns easily. If your oven runs hot, lower the temperature to $300$°F ($150$°C) and extend the bake by 5 minutes.
- Storage: These stay fresh for up to 2 weeks. For extra “snap,” store the container in the refrigerator.
Nutritional Information (Per 1-cup Serving)
- Calories: 210 kcal.
- Fiber: 5g.
- Protein: 7g.
- Sugars: 6g (Natural).

Conclusion
Healthy Homemade Chocolate Puff Cereal proves that you don’t need industrial extruders to enjoy a nostalgic breakfast. By controlling the lipid-to-fiber ratio, you create a cereal that satisfies the “crunch” craving while maintaining a stable blood-sugar response.