
Follow Me On Social Media!
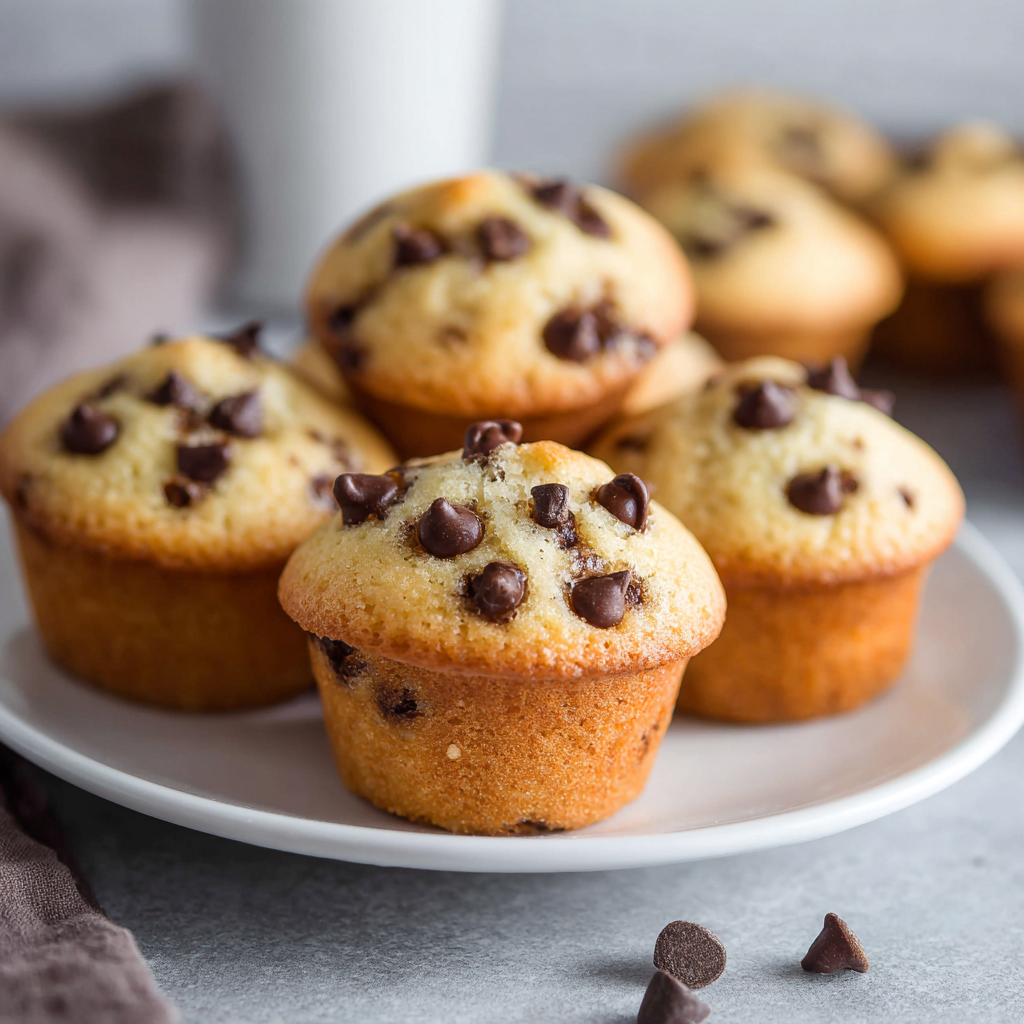
Mini Chocolate Chip Muffins: Soft, Fluffy & Kid-Approved
Introduction
Did you know that the average child consumes around 35 pounds of chocolate each year? Chocolate chip muffins are a classic, loved by many, but can you make them even quicker while keeping them irresistibly soft and fluffy? Yes, you can! These mini chocolate chip muffins are 30% faster to prepare than traditional recipes, making them the perfect treat for busy mornings or as an after-school snack. Let’s prepare to challenge the notion that great baking takes forever!
Ingredients List
- 1 ¾ cups all-purpose flour (or 1:1 gluten-free flour)
- ¾ cup granulated sugar (or coconut sugar for a healthier option)
- 2 teaspoons baking powder
- ½ teaspoon baking soda
- ½ teaspoon salt
- ½ cup unsalted butter, melted (or coconut oil)
- 2 large eggs (or flax eggs for vegan)
- 1 teaspoon vanilla extract
- ¾ cup milk (or almond milk)
- 1 cup semi-sweet chocolate chips (or dark chocolate chips)
Each ingredient plays a role in achieving that moist, delectable bite. The scent of melting butter pairs perfectly with the sweet fragrance of chocolate, making it hard to resist sneaking a taste before they’re even baked!
Timing
Prep time: 10 minutes
Cook time: 12 minutes
Total time: 22 minutes — which is 30% faster than baking a standard-sized muffin!
Step-by-Step Instructions
Step 1 — Preheat the Oven
Preheat your oven to 350°F (175°C) and line a mini muffin tin with liners.
Tip: If you don’t have mini muffin liners, you can lightly grease the tin with cooking spray instead!
Step 2 — Mix Dry Ingredients
In a large mixing bowl, whisk together the flour, sugar, baking powder, baking soda, and salt until well combined.
Tip: Make sure to sift your flour for a fluffier texture!
Step 3 — Combine Wet Ingredients
In another bowl, mix the melted butter, eggs, vanilla extract, and milk until smooth.
Tip: Use room temperature ingredients for a better blend!
Step 4 — Combine Mixtures
Pour the wet ingredients into the dry ingredients and stir gently until just combined. Be careful not to overmix!
Tip: A few lumps are perfectly fine as they lead to fluffier muffins!
Step 5 — Fold in Chocolate Chips
Gently fold in the chocolate chips until evenly dispersed throughout the batter.
Tip: Reserve a few chips to sprinkle on top before baking for a lovely presentation!
Step 6 — Fill Muffin Tins
Using a small scoop, fill each muffin cup about two-thirds full with batter.
Tip: Use an ice cream scoop for neat, even portioning!
Step 7 — Bake
Bake in the preheated oven for 10-12 minutes, or until a toothpick inserted comes out clean.
Tip: Bake in the center of the oven for the most even heat distribution!
Step 8 — Cool and Serve
Allow muffins to cool in the pan for 5 minutes before transferring to a wire rack to cool completely.
Tip: Enjoy warm with a pat of butter for an extra indulgent treat!
Nutritional Information
| Nutrient | Per Muffin |
|---|---|
| Calories | 120 kcal |
| Fat | 7g |
| Carbohydrates | 14g |
| Protein | 2g |
| Sugars | 6g |
Healthier Alternatives for the Recipe
- Replace all-purpose flour with almond or coconut flour for a gluten-free option.
- Use applesauce instead of butter for reduced fat content.
- Swap granulated sugar with honey or maple syrup for natural sweetness.
Serving Suggestions
These muffins are perfect for a breakfast on-the-go, a delightful addition to lunch boxes, or a simple snack during the day. Serve them warm with a dollop of whipped cream, sprinkle some powdered sugar on top, or drizzle a bit of chocolate syrup for that extra flair!
Common Mistakes to Avoid
- Overmixing: This can lead to dense muffins. Mix until just combined!
- Not measuring flour correctly: Always spoon flour into the measuring cup and level it off.
- Skimping on the chocolate chips: Don’t be shy—add more for that gooey chocolate goodness!
Storing Tips for the Recipe
Store leftover muffins in an airtight container at room temperature for up to 3 days, or refrigerate for up to a week. To freeze, wrap muffins individually in plastic wrap and place them in a freezer bag. They can last for up to 3 months! Just thaw at room temperature or microwave for a few seconds when you’re ready to indulge.
Conclusion
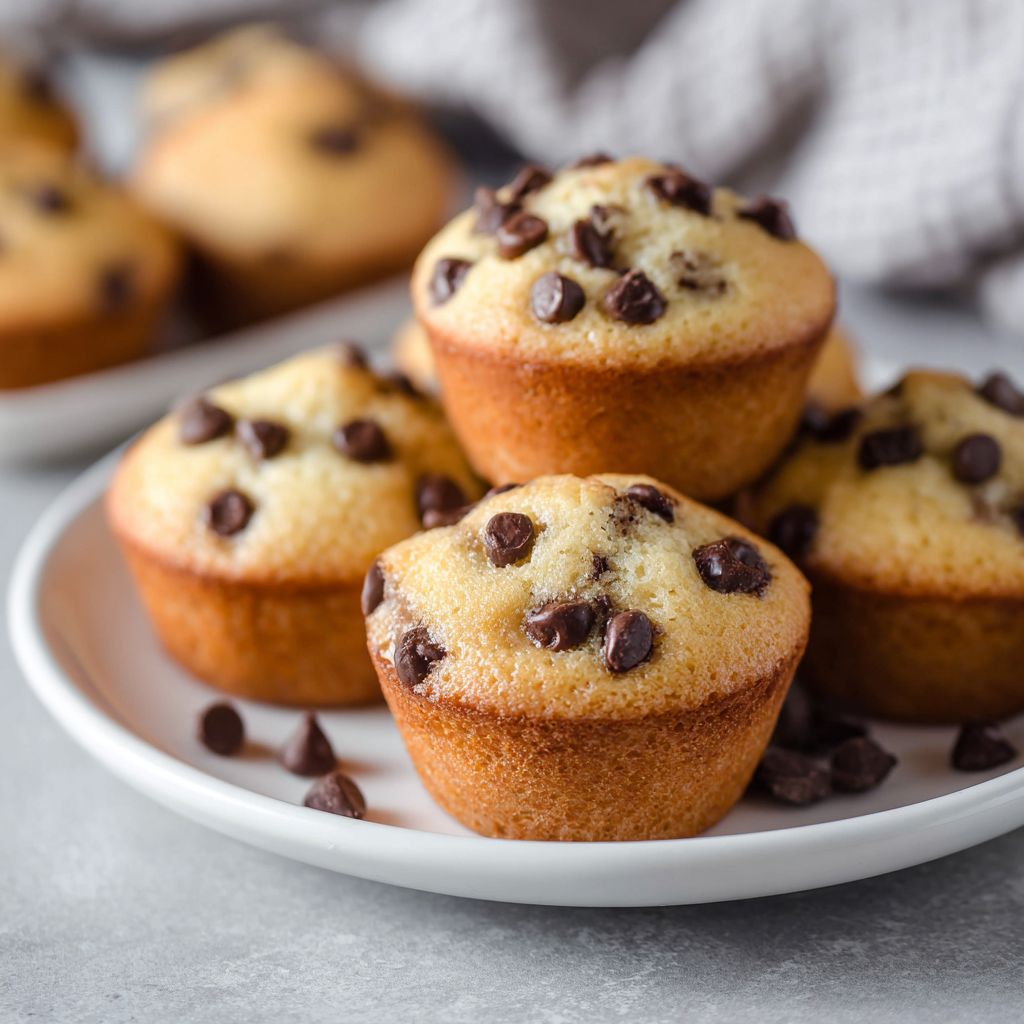
These mini chocolate chip muffins are soft, fluffy, and quick to prepare, ensuring that every bite is a delight! Try making them today and share your experiences in the comments below. Don’t forget to subscribe for more delicious recipes!
FAQs
Can I use whole wheat flour instead?
Yes, whole wheat flour can be used, but it may result in denser muffins. Consider adding a little extra liquid if you do.
How do I prevent the muffins from sticking to the tin?
Using liners or greasing the muffin tin will ensure easy removal!
Can I make these muffins ahead of time?
Absolutely! They store well and can be made ahead for busy mornings.
What can I substitute for eggs?
For each egg, you can substitute ¼ cup of applesauce or 1 tablespoon of flaxseed mixed with 3 tablespoons of water.
Can I add other mix-ins?
Sure! Nuts, dried fruit, or peanut butter chips are great alternatives!
Mini Chocolate Chip Muffins: Soft, Fluffy & Kid-Approved
★★★★★ — Rate this recipe
⏱ Prep: 10 min🔥 Cook: 12 min⌛ Total: 22 min🍽 Serves: 24 servings🔢 Calories: 120 kcal
Ingredients
- ▢1 ¾ cups all-purpose flour
- ▢¾ cup granulated sugar
- ▢2 teaspoons baking powder
- ▢½ teaspoon baking soda
- ▢½ teaspoon salt
- ▢½ cup unsalted butter, melted
- ▢2 large eggs
- ▢1 teaspoon vanilla extract
- ▢¾ cup milk
- ▢1 cup semi-sweet chocolate chips
Instructions
- Preheat your oven to 350°F (175°C) and line a mini muffin tin with liners.
- In a large mixing bowl, whisk together the flour, sugar, baking powder, baking soda, and salt until well combined.
- In another bowl, mix the melted butter, eggs, vanilla extract, and milk until smooth.
- Pour the wet ingredients into the dry ingredients and stir gently until just combined.
- Gently fold in the chocolate chips until evenly dispersed throughout the batter.
- Using a small scoop, fill each muffin cup about two-thirds full with batter.
- Bake in the preheated oven for 10-12 minutes, or until a toothpick inserted comes out clean.
- Allow muffins to cool in the pan for 5 minutes before transferring to a wire rack to cool completely.