Follow Me On Social Media!
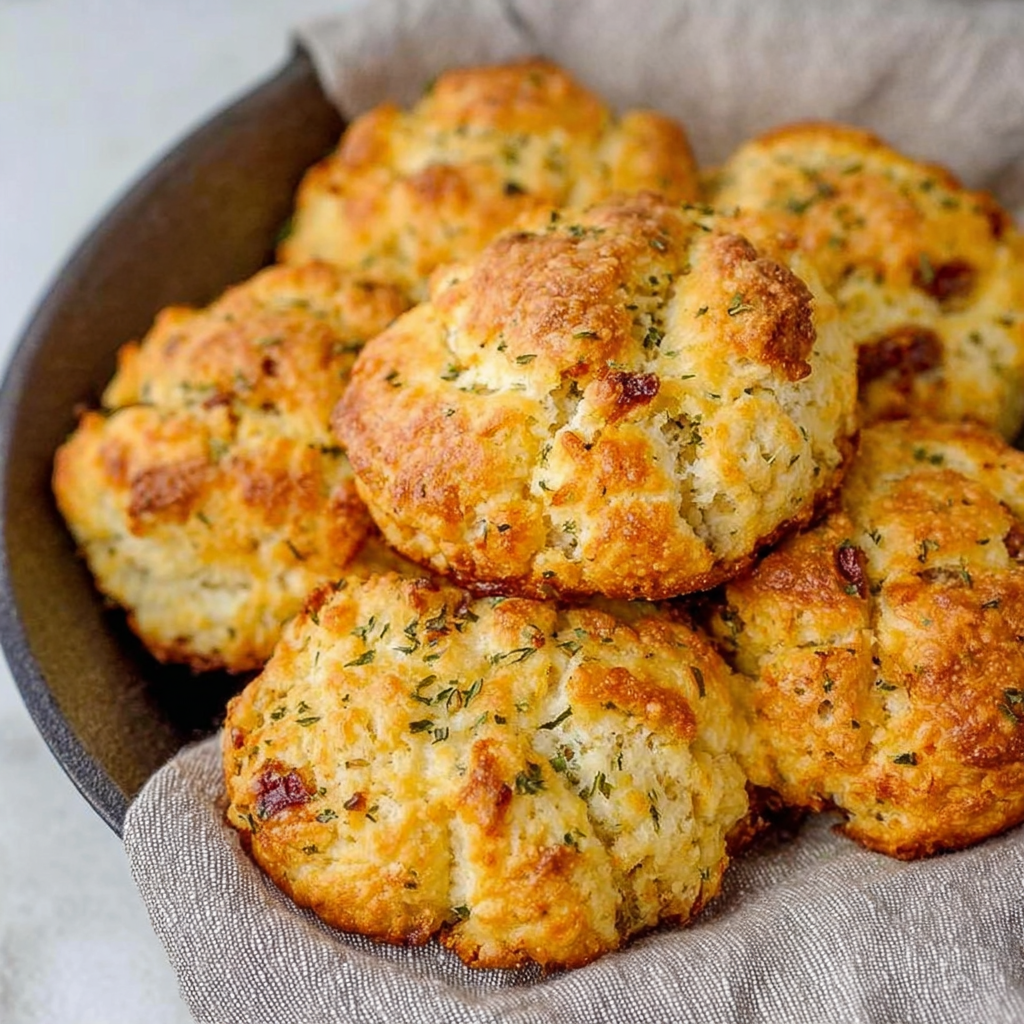
The Low-Carb Architect: Keto Almond-Flour Biscuits
The Gastronomic Architecture: The “Non-Gluten” Structural Matrix
In the hierarchy of ketogenic baking, the Keto Biscuit represents a sophisticated study in Lipid-Protein Binding and Chemical Leavening. The technical challenge of grain-free baking is the “Structure Deficit”: almond flour lacks gluten, the elastic protein network that traps CO2. By utilizing a High-Density Egg and Cheese Binder, you create a “Pseudo-Gluten” scaffold that provides the “Chew” and “Lift” characteristic of a traditional buttermilk biscuit.
The “irresistibility” factor is driven by the Maillard-Lipid Synergy: the high fat content in almond flour and butter browns rapidly at 200°C, creating a savory, nutty crust that mimics the toasted wheat profile of a standard biscuit.
Essential Mise en Place: Technical Specs
To achieve a restaurant-grade “crumb” and avoid the common “grainy” texture, the mesh-size of your almond flour and the temperature of your fats are the most critical factors.
The Foundation (The “Dry” Matrix)
- Super-Fine Blanched Almond Flour (250g): Technical Requirement: Do not use “almond meal” (with skins). The super-fine mesh is essential for a light, non-gritty mouthfeel.
- Baking Powder (1 tbsp): To provide the primary “Chemical Lift.”
- Xanthan Gum (1/2 tsp): Expert Tip: This act as a “Structural Glue,” providing the elasticity that almond flour naturally lacks.
The “Binder” Matrix (The “Wet” Elements)
- Melted Unsalted Butter (60g): To provide the short-crust texture and “buttery” aromatic profile.
- Large Eggs (2): The primary protein binder for structural integrity.
- Sour Cream or Greek Yogurt (60g): To provide the “Buttermilk” acidity that activates the baking powder.
- Shredded Sharp Cheddar (100g): Optional, but acts as a secondary structural binder during the melt-phase.
The Masterclass: Step-by-Step Culinary Execution
Phase 1: The “Homogenous” Dry Blend
Whisk the almond flour, baking powder, salt, and xanthan gum. Technical Requirement: Ensure there are no clumps. Almond flour is hygroscopic and tends to cluster; a smooth dry mix ensures even leavening and prevents “salty pockets.”
Phase 2: The “Emulsion” Integration
In a separate bowl, whisk the eggs, melted butter, and sour cream until a smooth emulsion forms. Fold the wet ingredients into the dry. Expert Tip: Do not over-mix. While there is no gluten to toughen, over-mixing can deflate the air bubbles created during the whisking of the eggs.
Phase 3: The “Scoop-and-Set” Formation
Using a large scoop, drop the dough onto a parchment-lined sheet. These are “Drop Biscuits.” Technical Requirement: Space them at least 3cm apart. Because they lack a gluten wall, they tend to spread slightly more than flour-based biscuits.
Phase 4: The “High-Radiant” Bake
Bake at 200°C (400°F) for 12–15 minutes. Technical Requirement: The biscuits are finished when the tops are “Deep Honey-Brown.” Unlike flour biscuits, almond-based doughs can look “cooked” while still being damp in the center; the dark brown crust is your indicator of a set crumb.
Common Technical Pitfalls to Avoid
- The “Crumbly” Mess: Usually caused by skipping the xanthan gum or using too little egg. The eggs are the “rebar” in your almond-flour concrete.
- The “Gritty” Texture: Caused by using unblanched almond meal. Always look for “Super-Fine” on the label.
- Soggy Bottoms: If the biscuits sit on the hot pan for too long after baking, the steam will condense. Move them to a wire cooling rack within 2 minutes of exiting the oven.
Frequently Asked Questions (Q&A)
| Question | Expert Answer |
|---|---|
| Can I make them dairy-free? | Yes. Substitute butter with Melted Coconut Oil and sour cream with Full-Fat Coconut Milk (solid part). |
| Why use xanthan gum? | It mimics the “stretch” of gluten. Without it, the biscuits will be more like savory muffins than true biscuits. |
| How do I store them? | Almond flour goes rancid faster than wheat. Store in an airtight container in the fridge for 5 days or freeze for up to 3 months. |